FastStatement Step-by-Step: Every Screen in Order
A visual walkthrough from the landing page through signup, conversions, selective OCR, batch jobs, PDF editing, bookkeeping, history, and exports. Screenshots for each step.

Someone sends you a PDF at 4:50 p.m. You promised a clean sheet tonight. You do not need philosophy about “digital transformation.” You need a sequence of screens that matches what you will actually click.
This guide follows the real order of the product: try on the landing page, create an account, work from the dashboard, then branch into the tools you need. Every image below lives in our screenshot set so you can match your browser pixel for pixel.
If you already know the basics, skip straight to the focused guides for batch processing, PDF editing, bookkeeping, or history. Prefer video? Use the two-part video walkthrough.
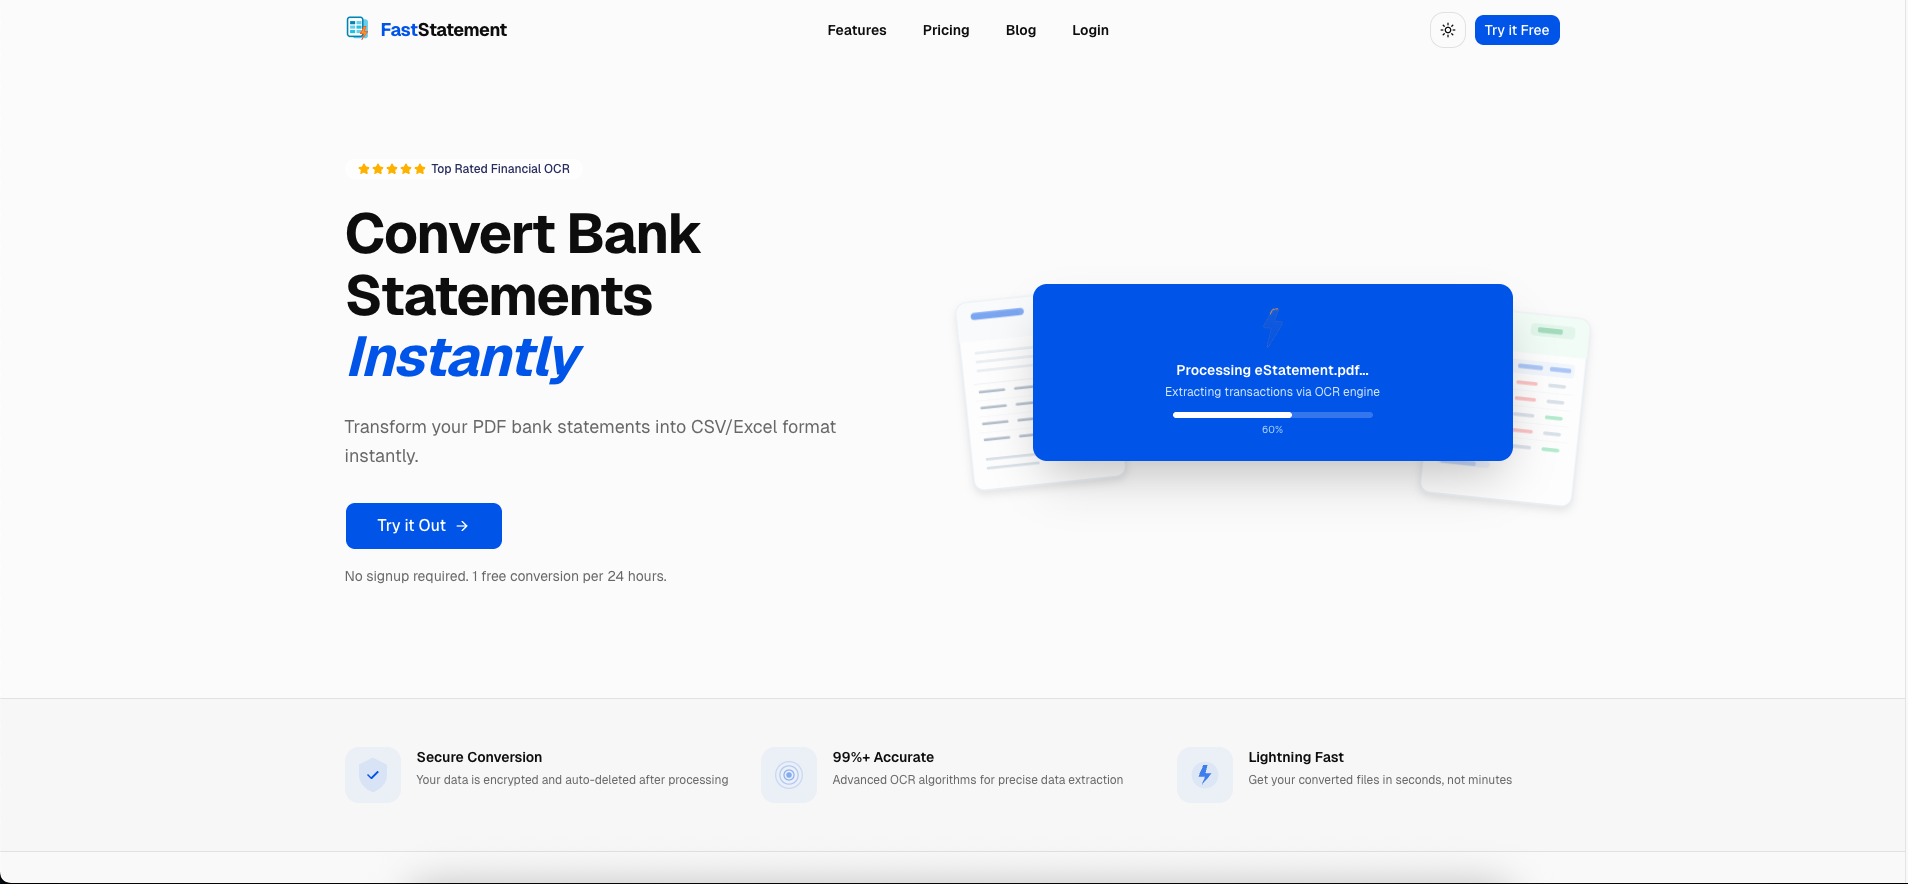
Try a conversion before you sign up
The landing flow is built so you can see extraction quality on your own file before you create credentials.
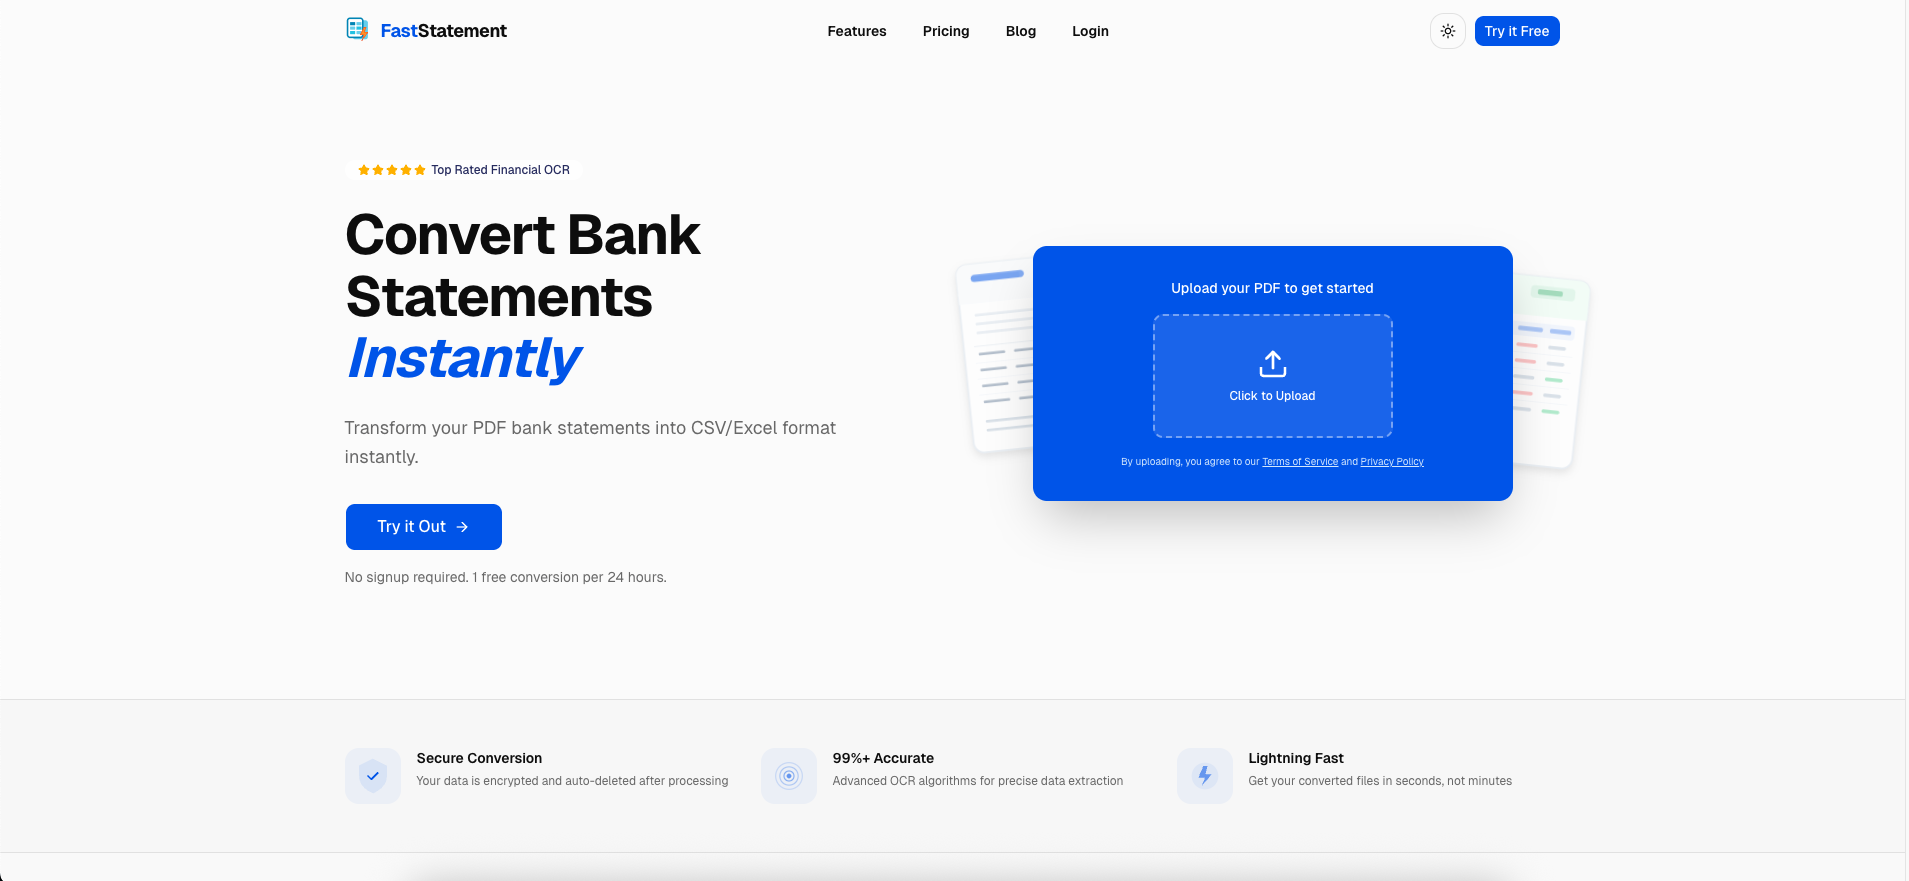
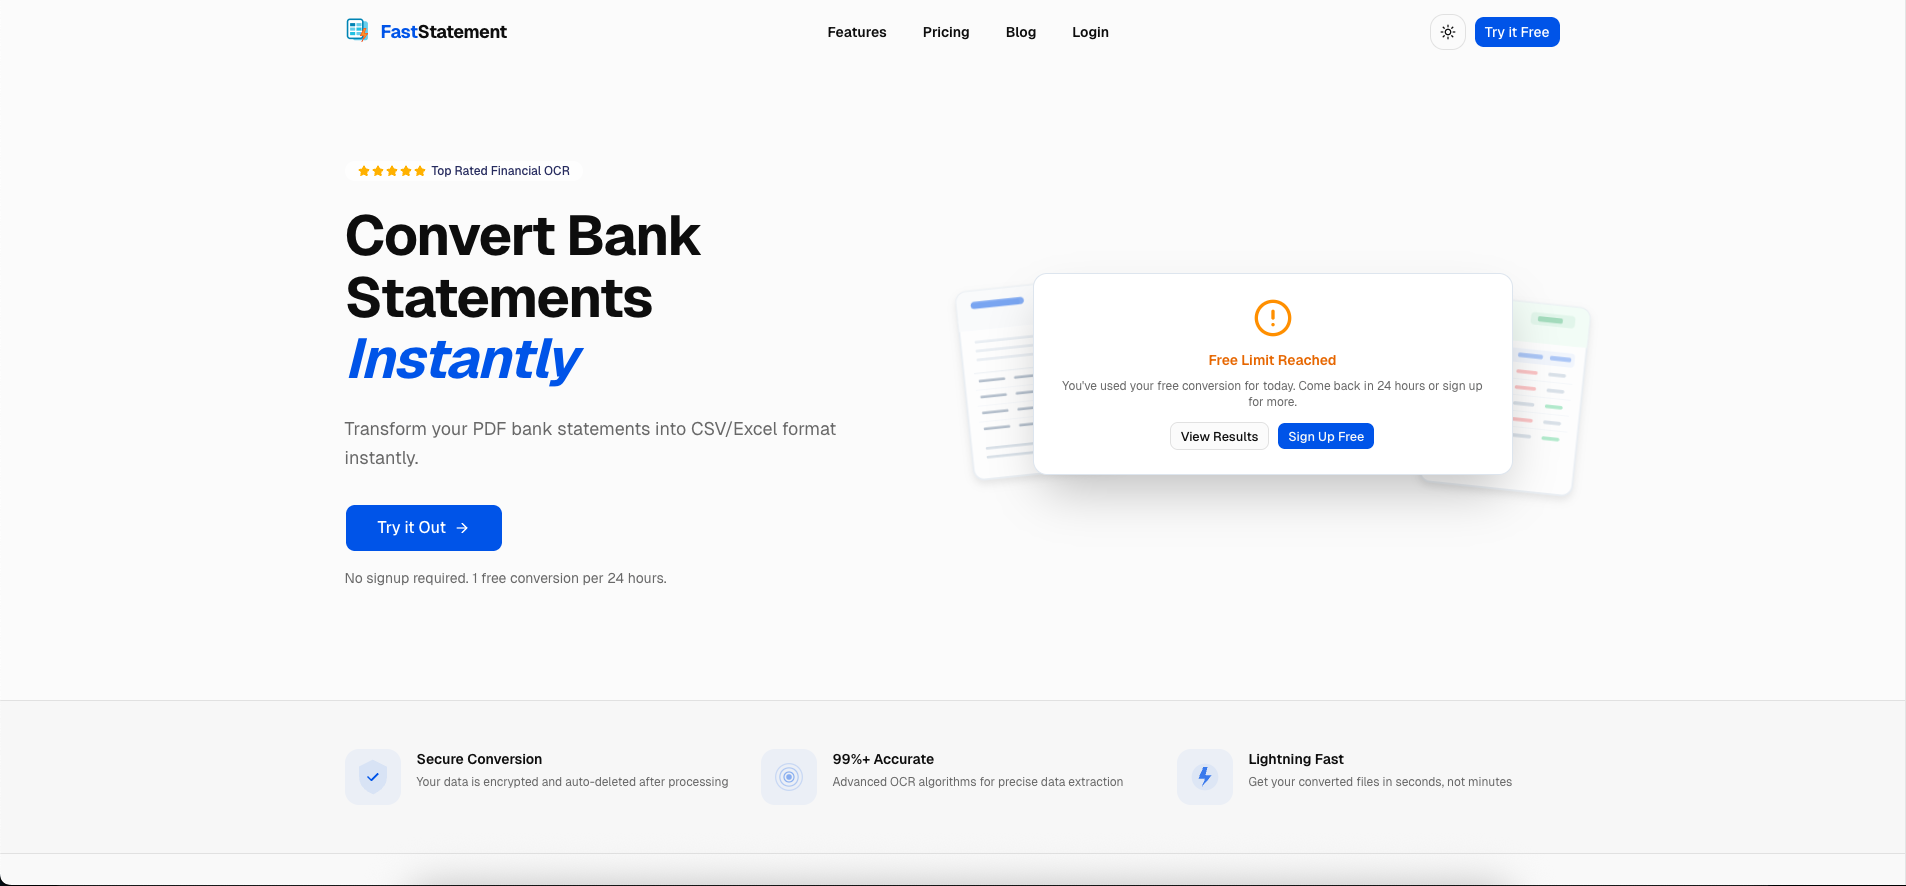
The product surfaces free-tier verification so you know processing counts against your plan in a transparent way.
You will also see where limits are communicated in the UI, which saves surprises after you have already invested time cleaning rows.
Create an account (email or Google)
Pick the path you actually use in your business. Both routes land in the same dashboard.


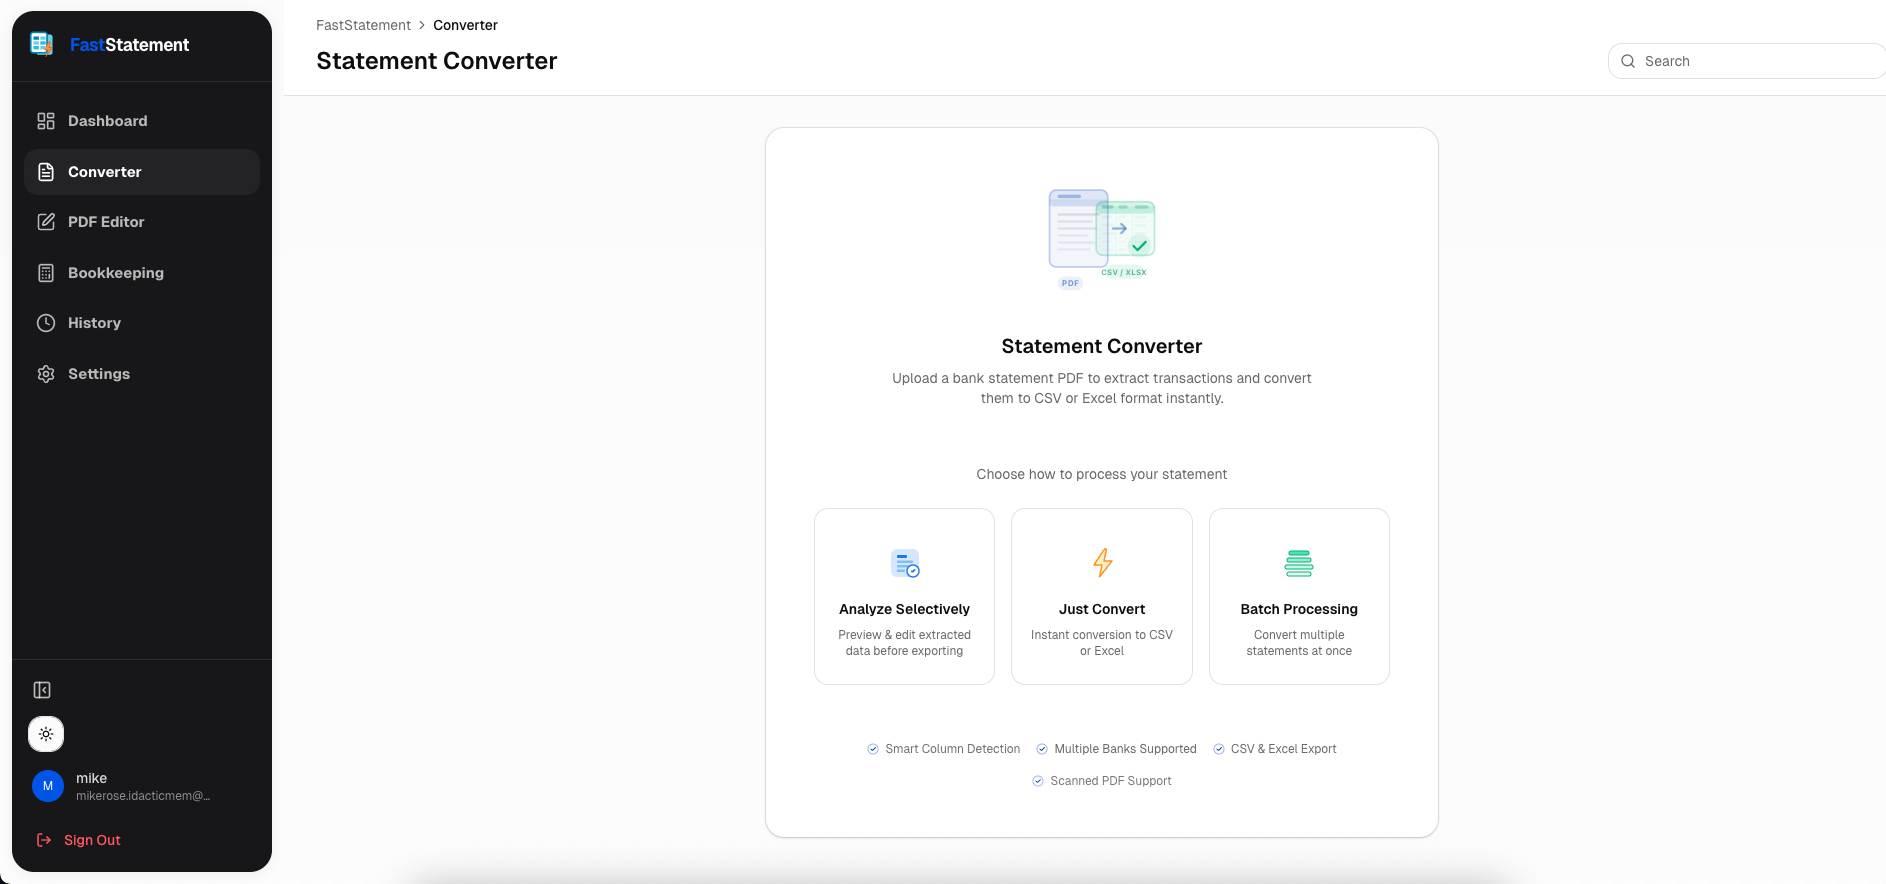
Dashboard and statement types
After login you are on the hub. This is the screen you will return to between jobs.
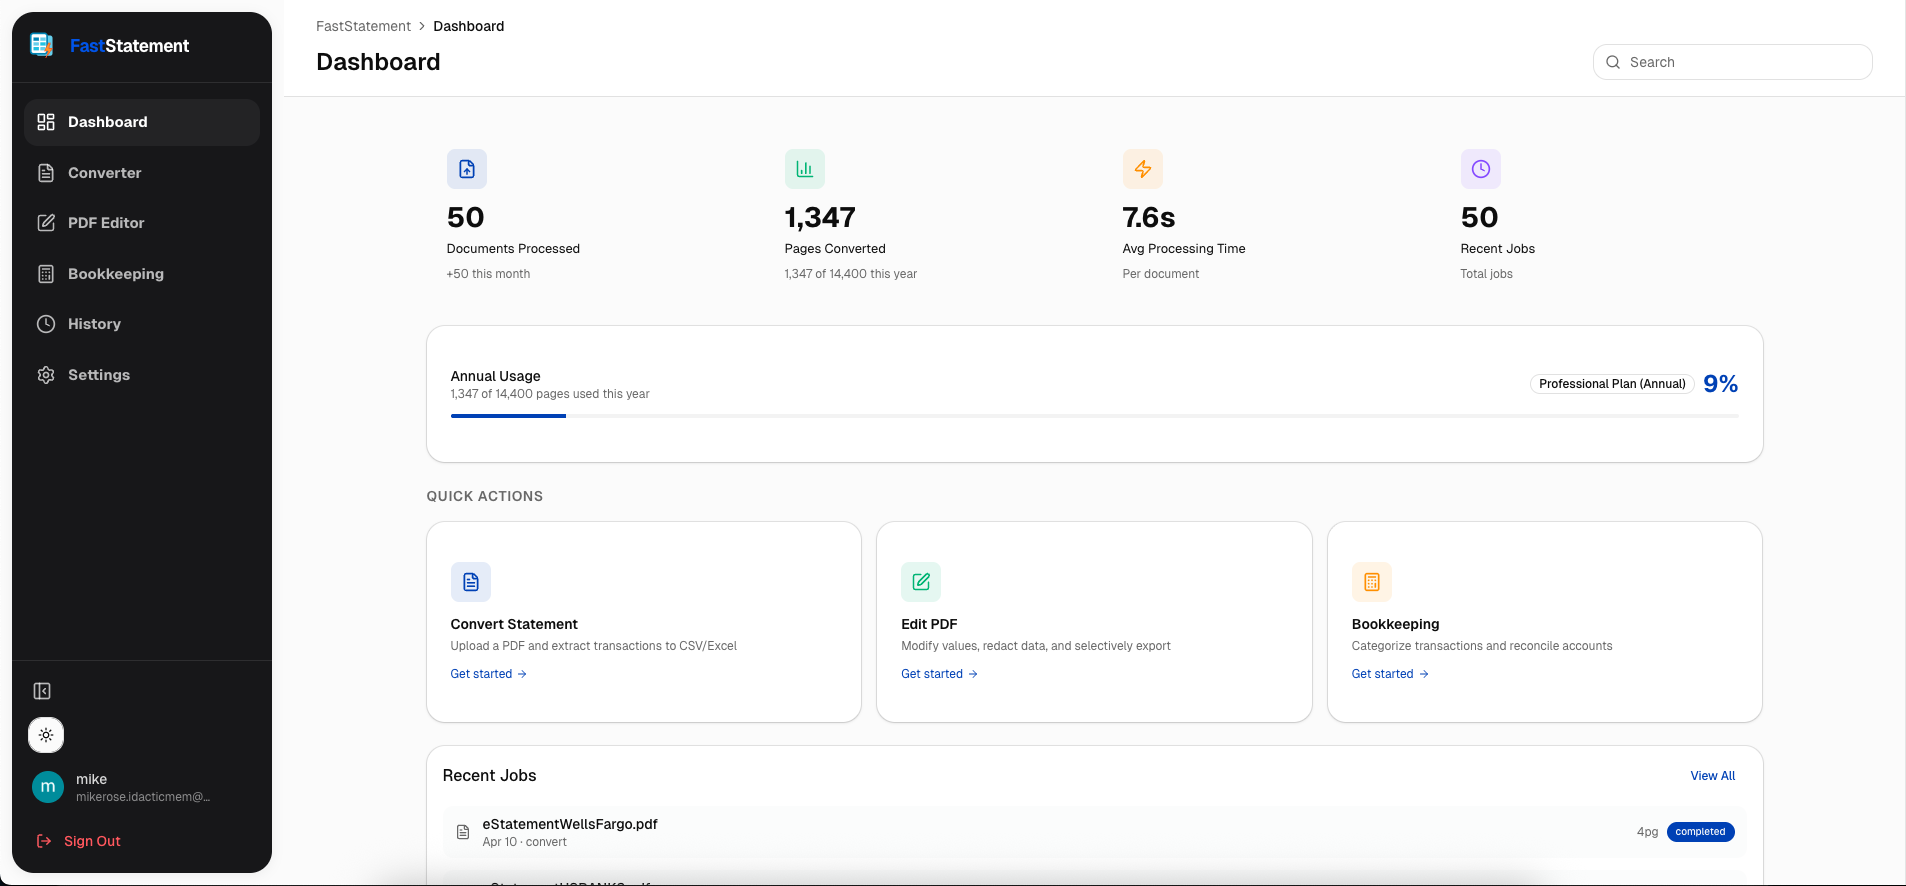
Choose the conversion path that matches the file. Digital PDFs and scans do not always behave the same way.
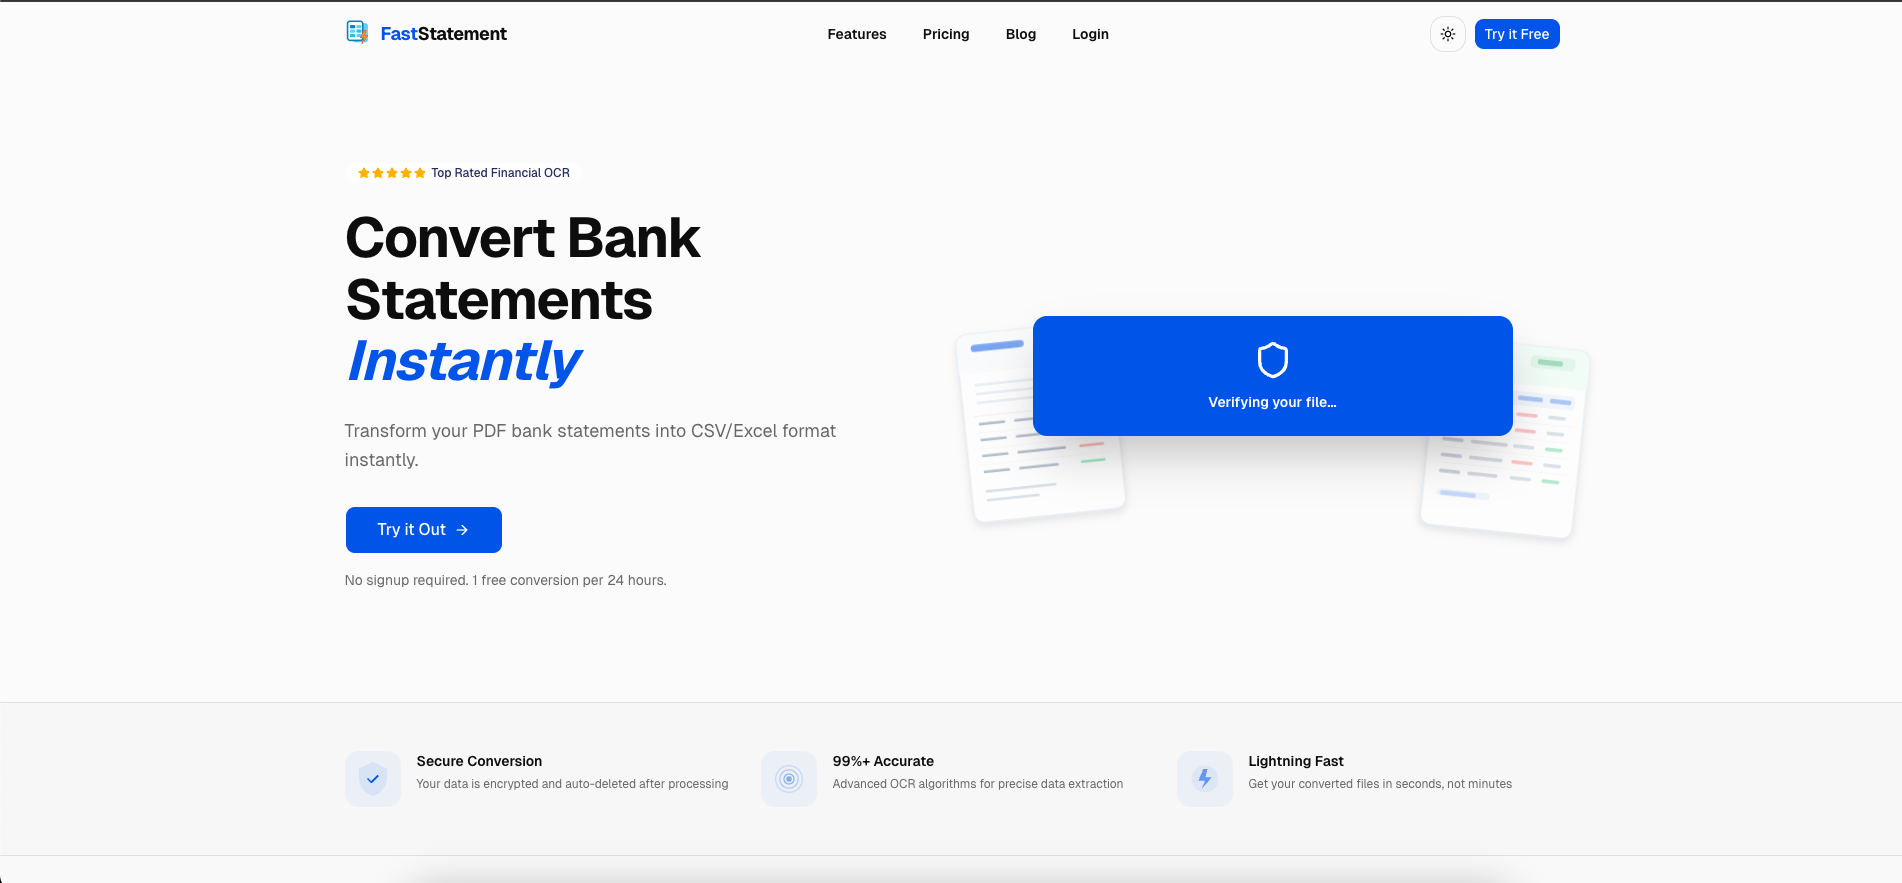
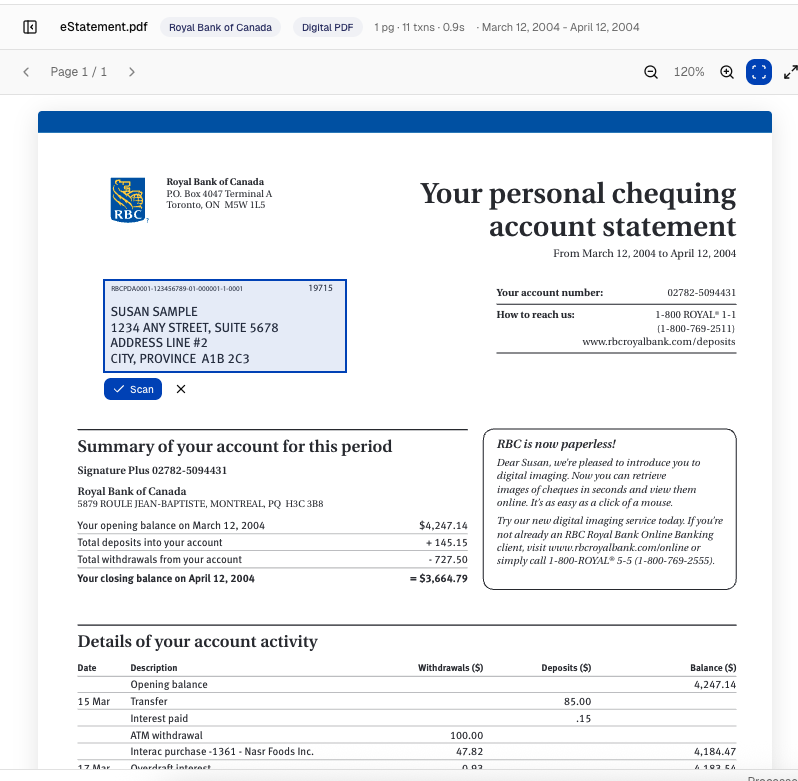
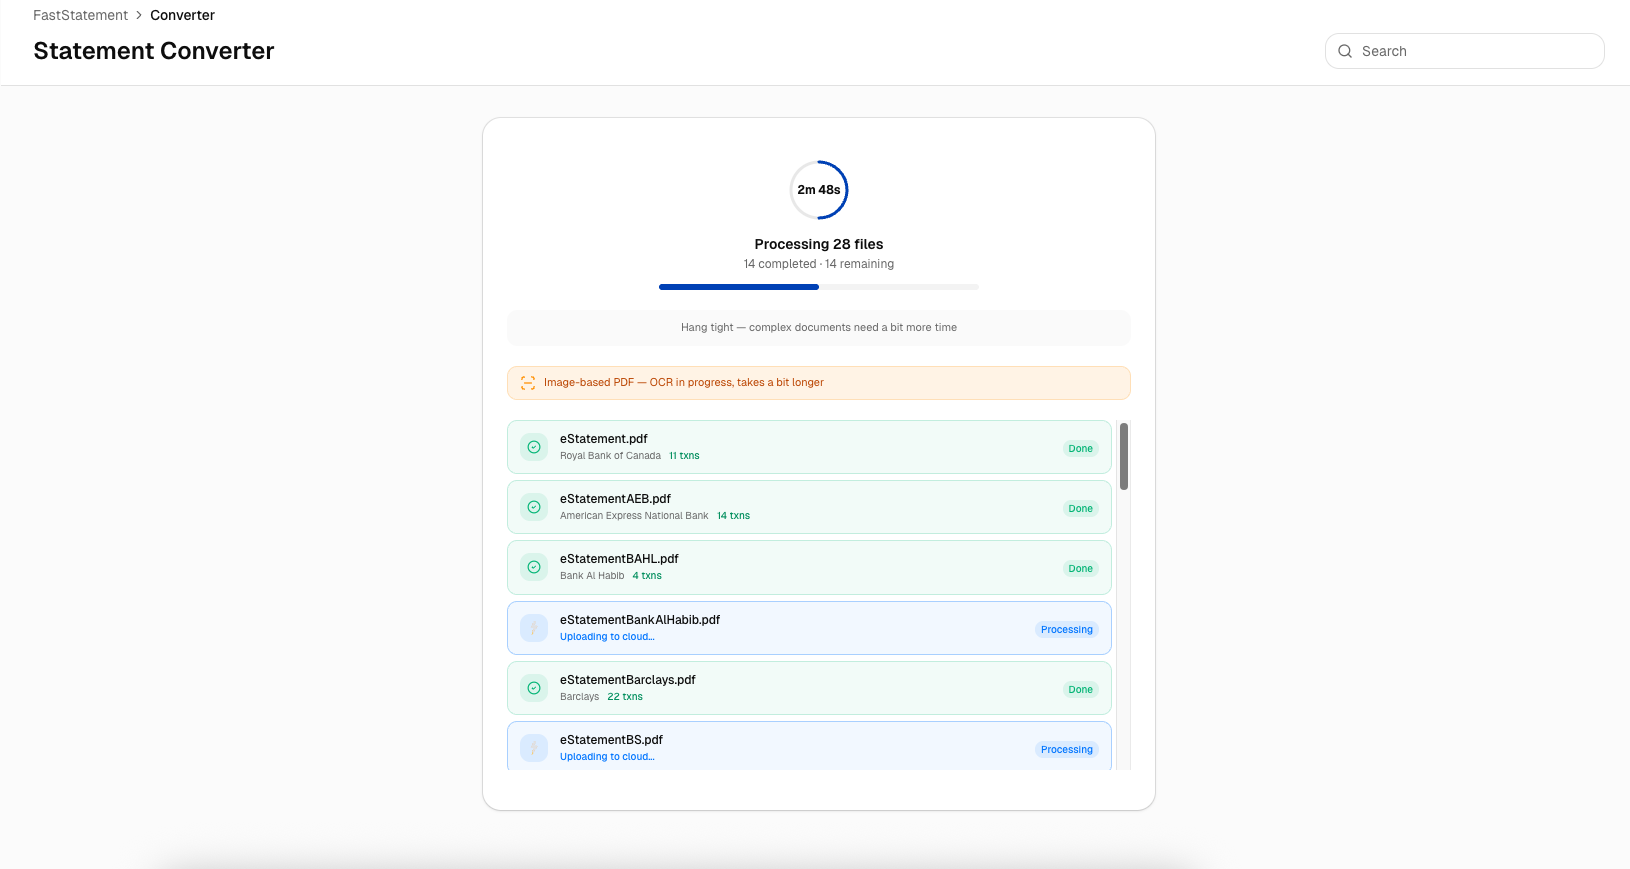
Processing and quick results
Upload, let the pipeline run, and watch the status move from “received” to “ready.”
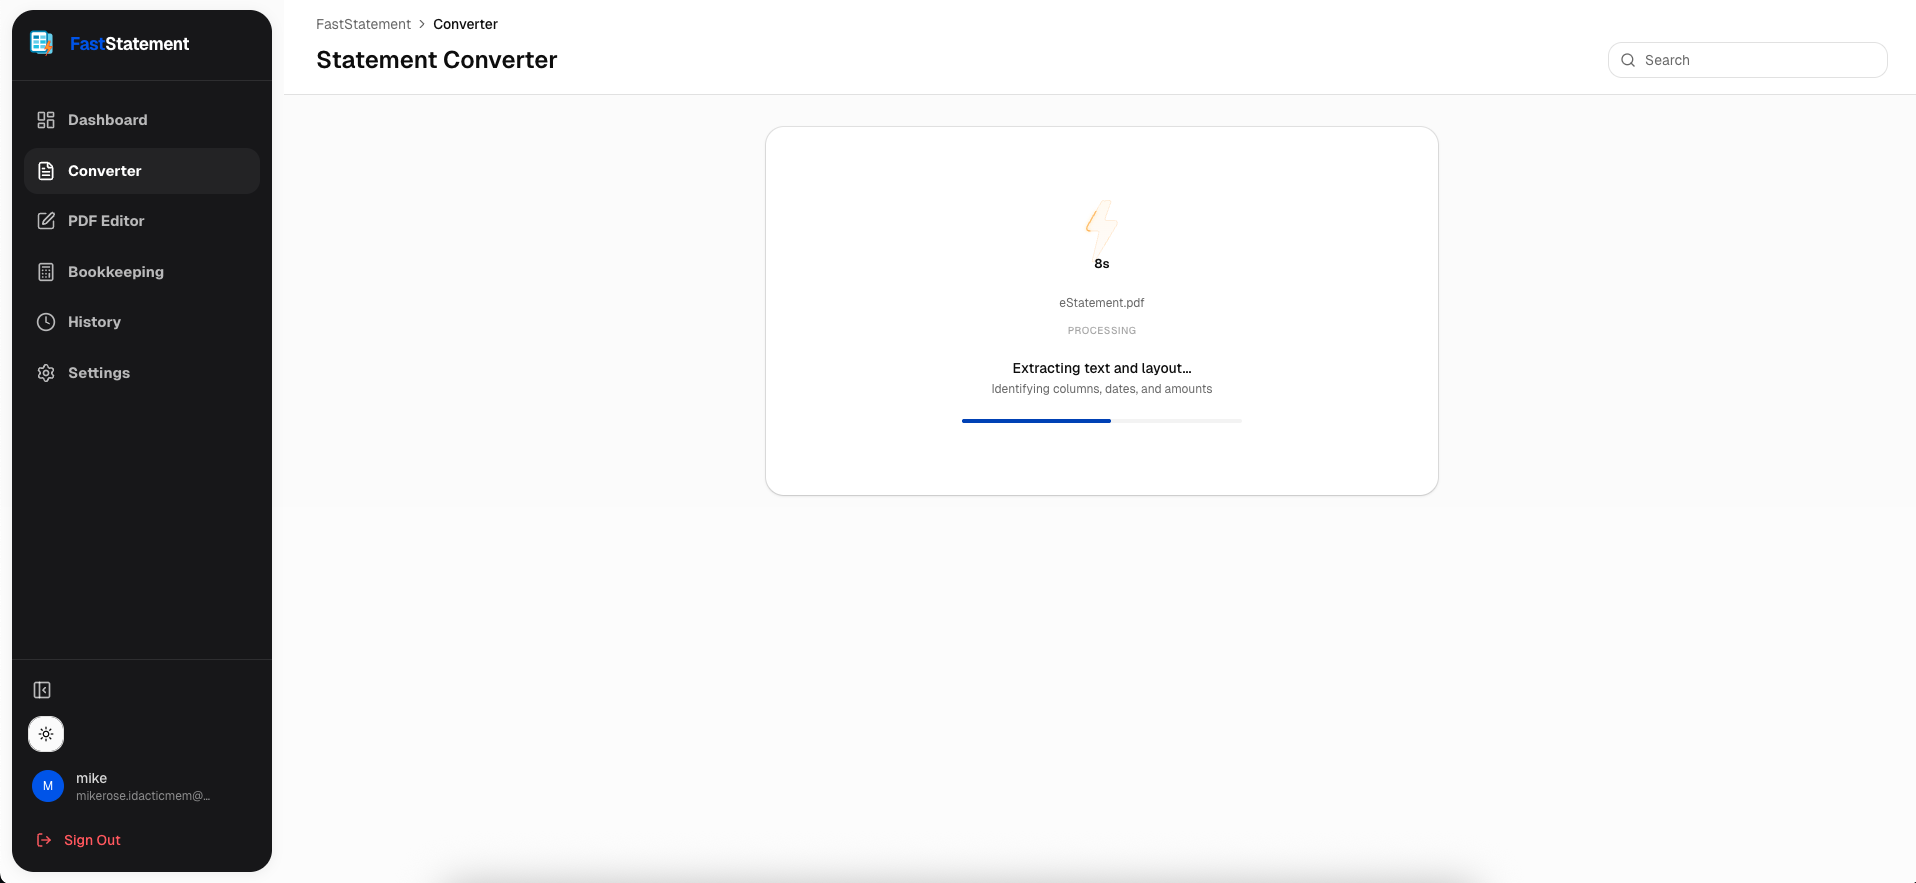
Free-tier processing uses the same progress cues so you can tell whether to wait or open another tab.
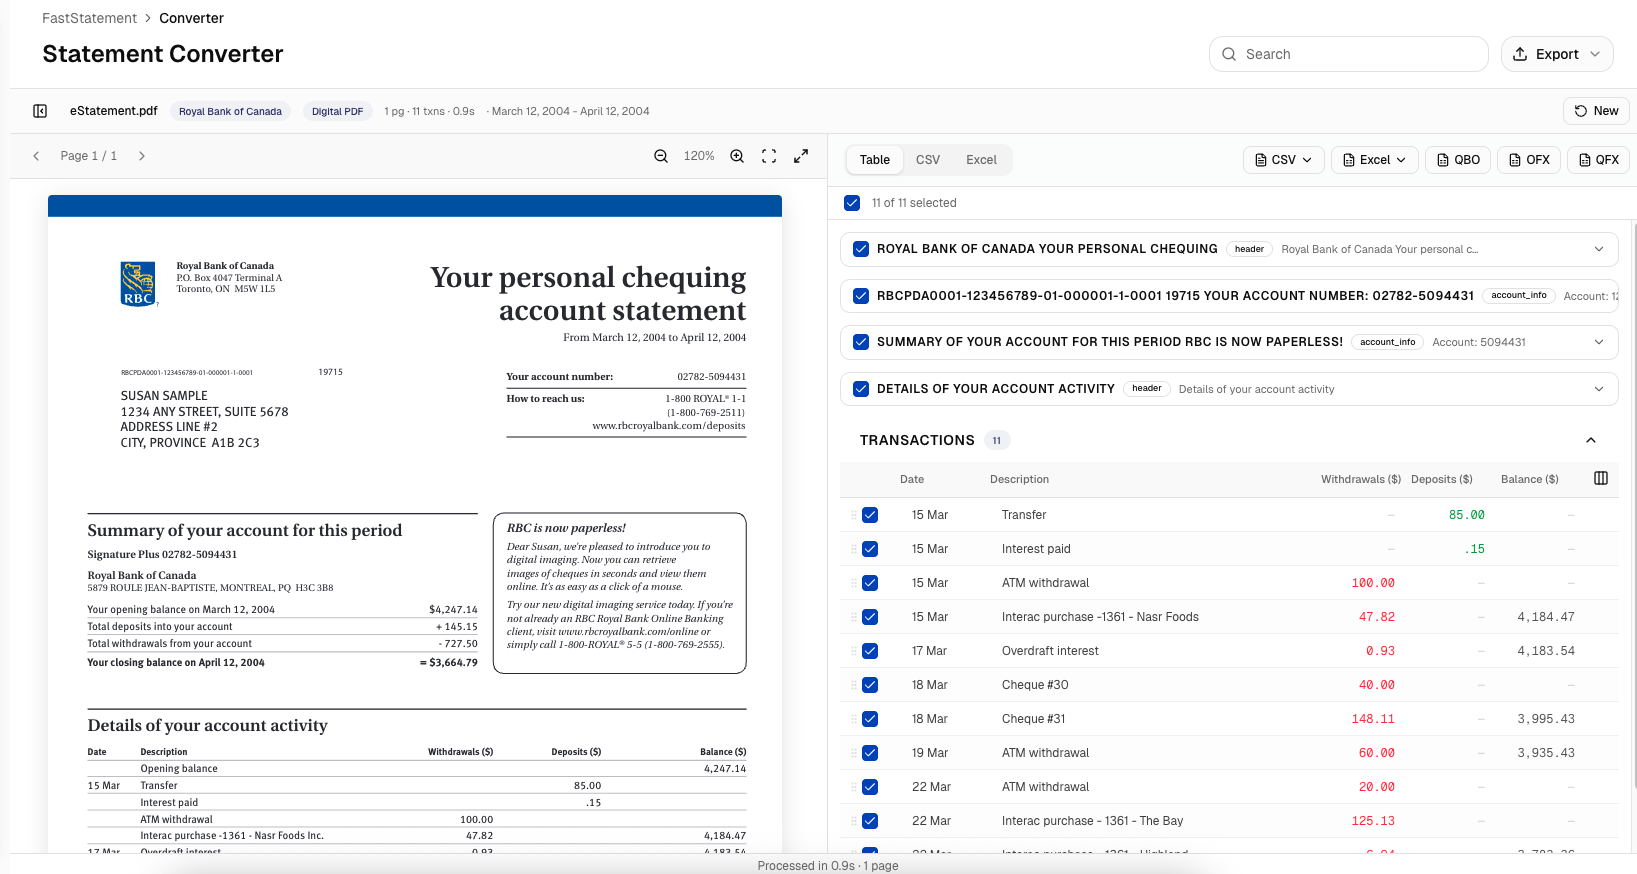
When extraction finishes, review the table before you export. This is the cheapest place to catch a bad row.
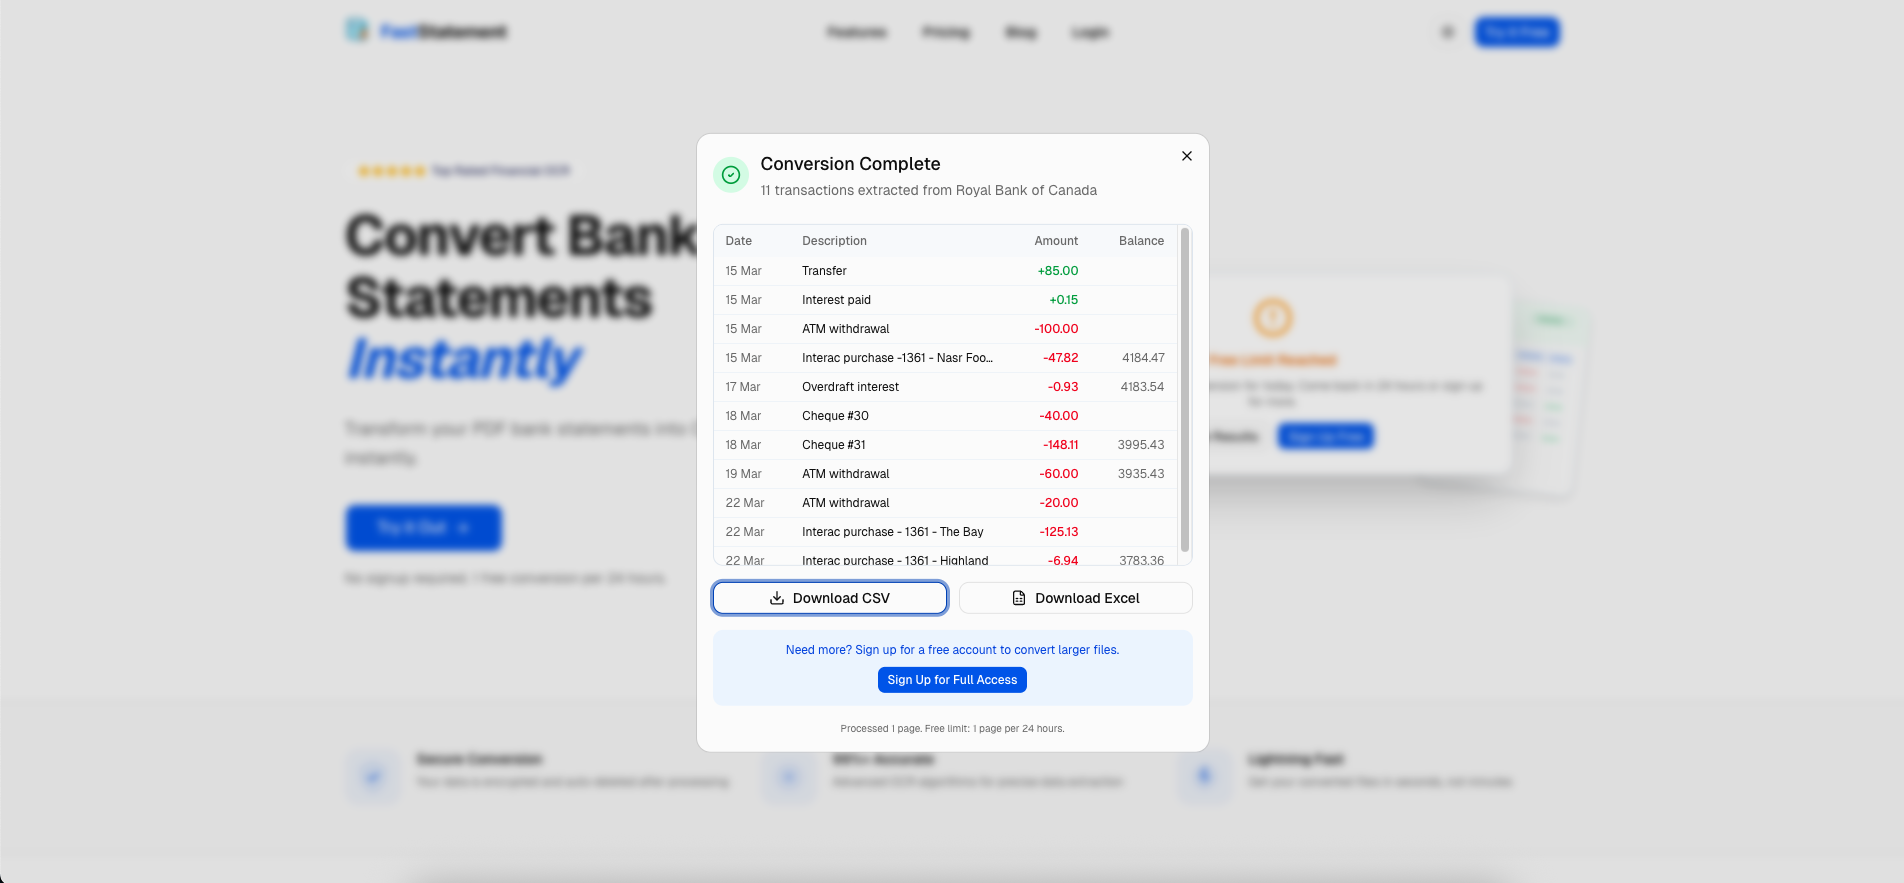
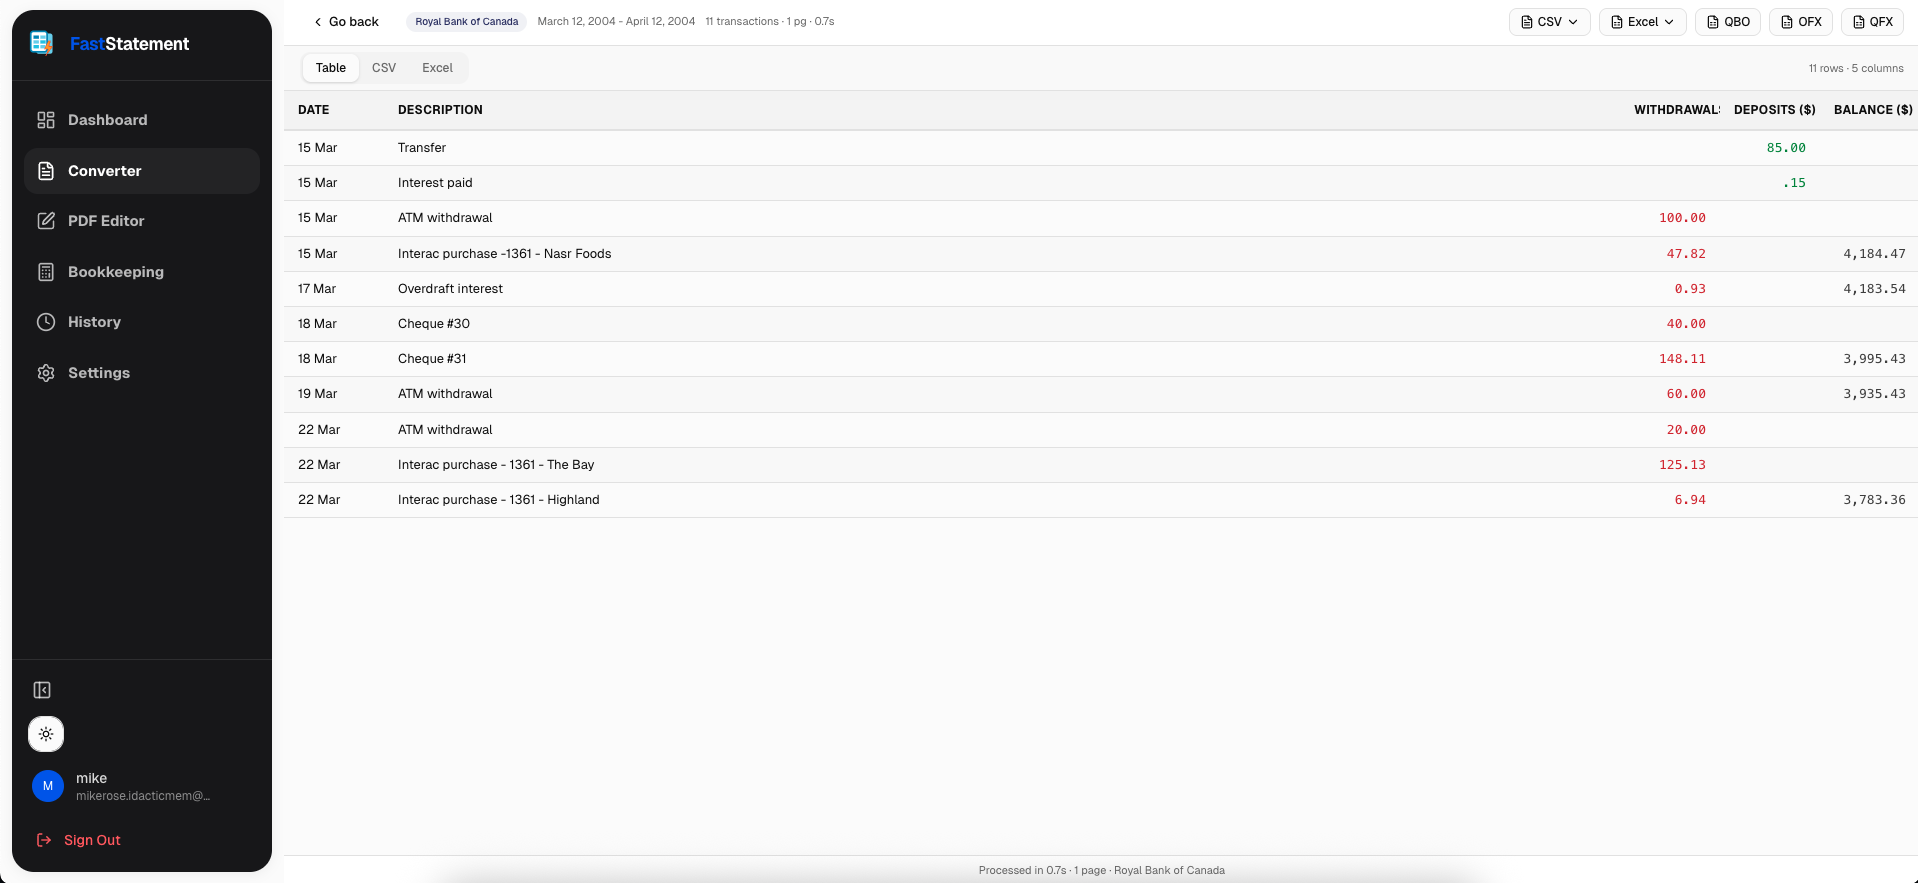
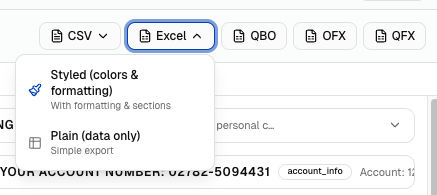
The export tray should list the formats you need for spreadsheets, accounting tools, or archival PDFs.
Selective conversion and area OCR
Sometimes the statement is a mess: a table in the corner, headers in the margin, or two accounts on one page. Selective mode lets you draw the region that matters.
Drop what you captured into the working document so the rest of the page does not pollute your rows.
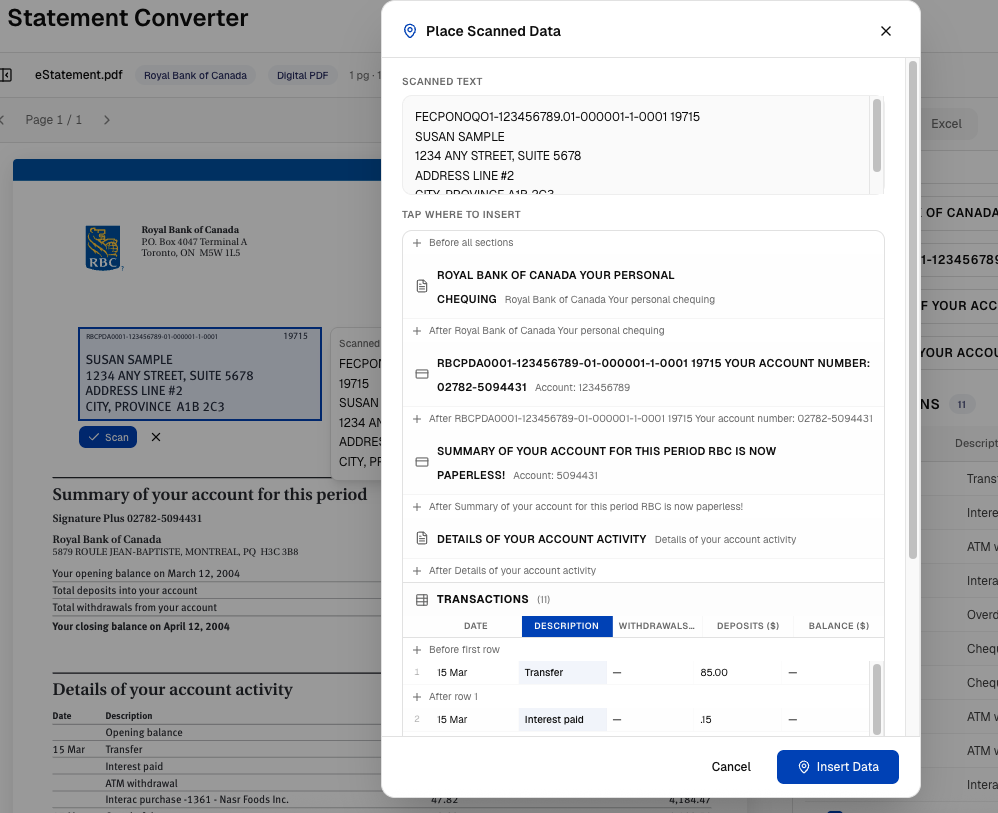
Confirm the selective run before you export.
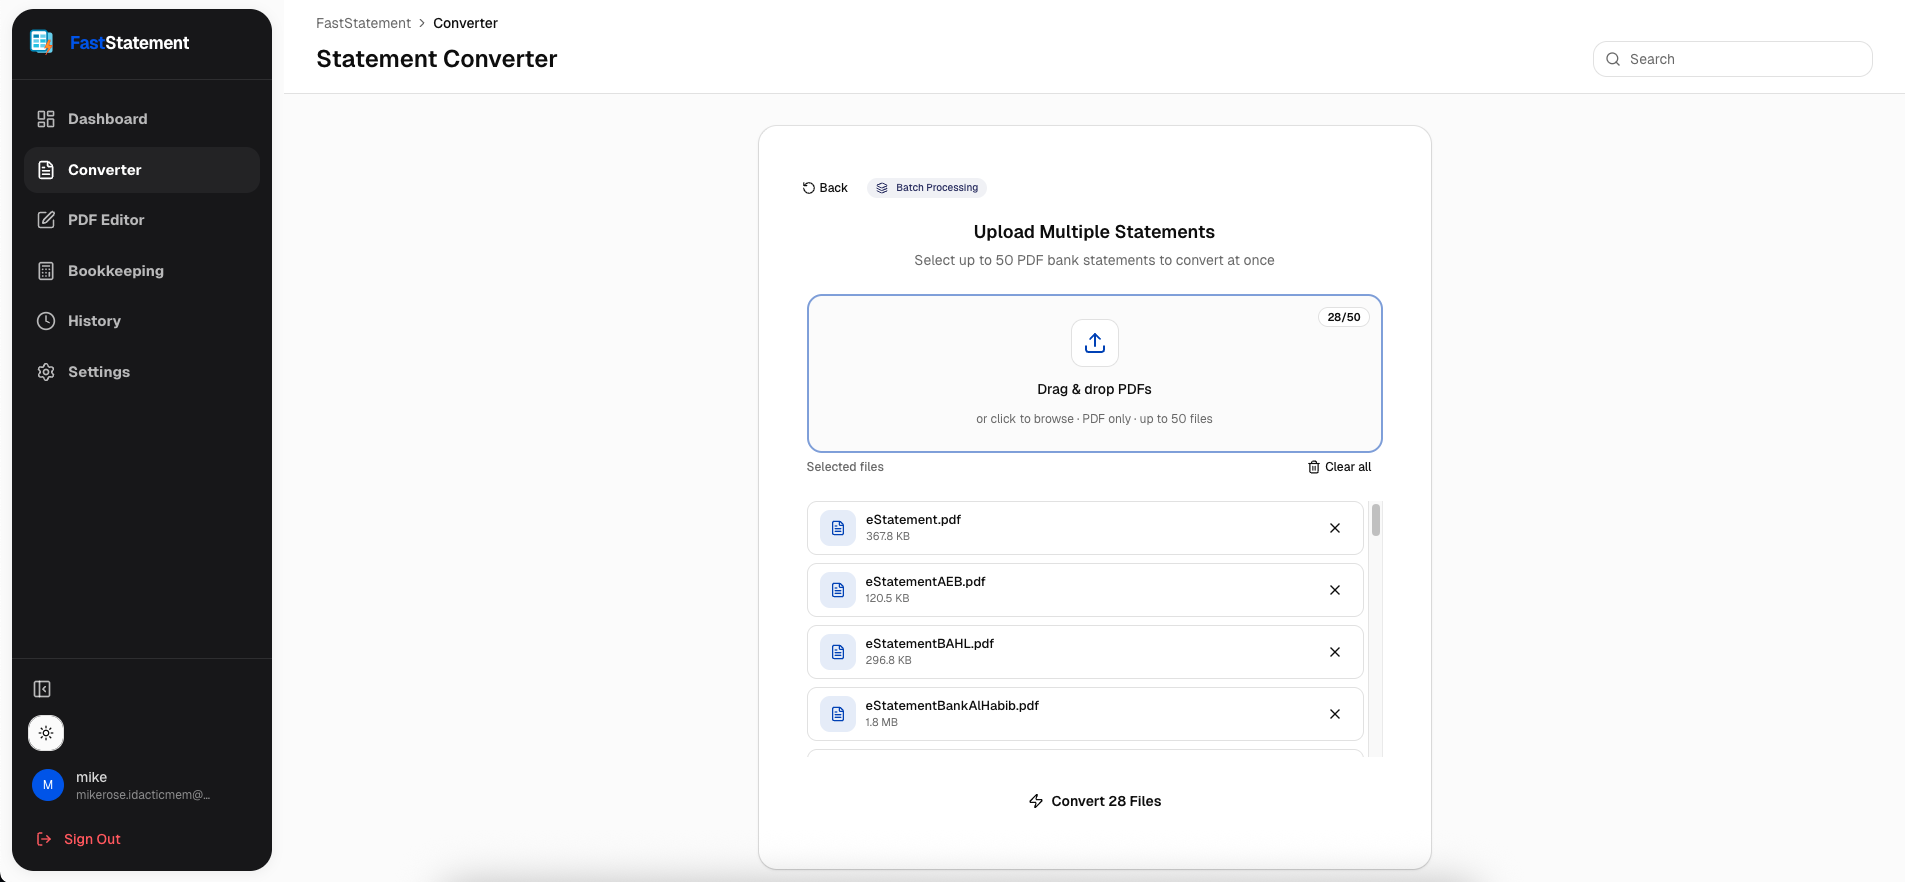
Batch processing (overview)
Batch work gets its own deep dive in the batch guide. At a glance, you select multiple files, handle passwords, watch live progress, then download ZIPs, merged outputs, or individual files.

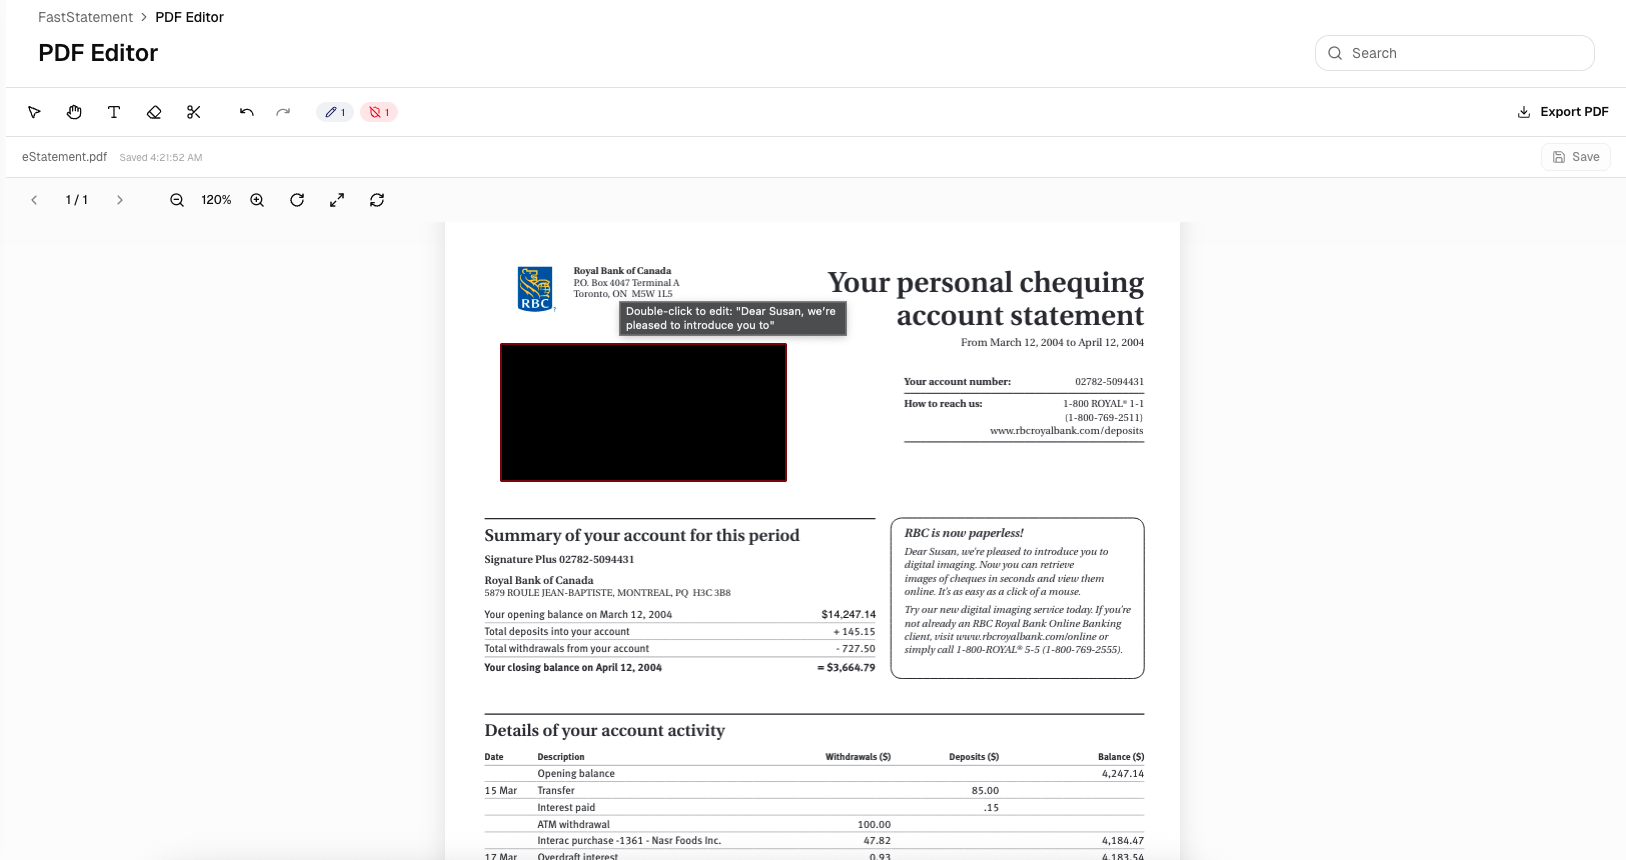
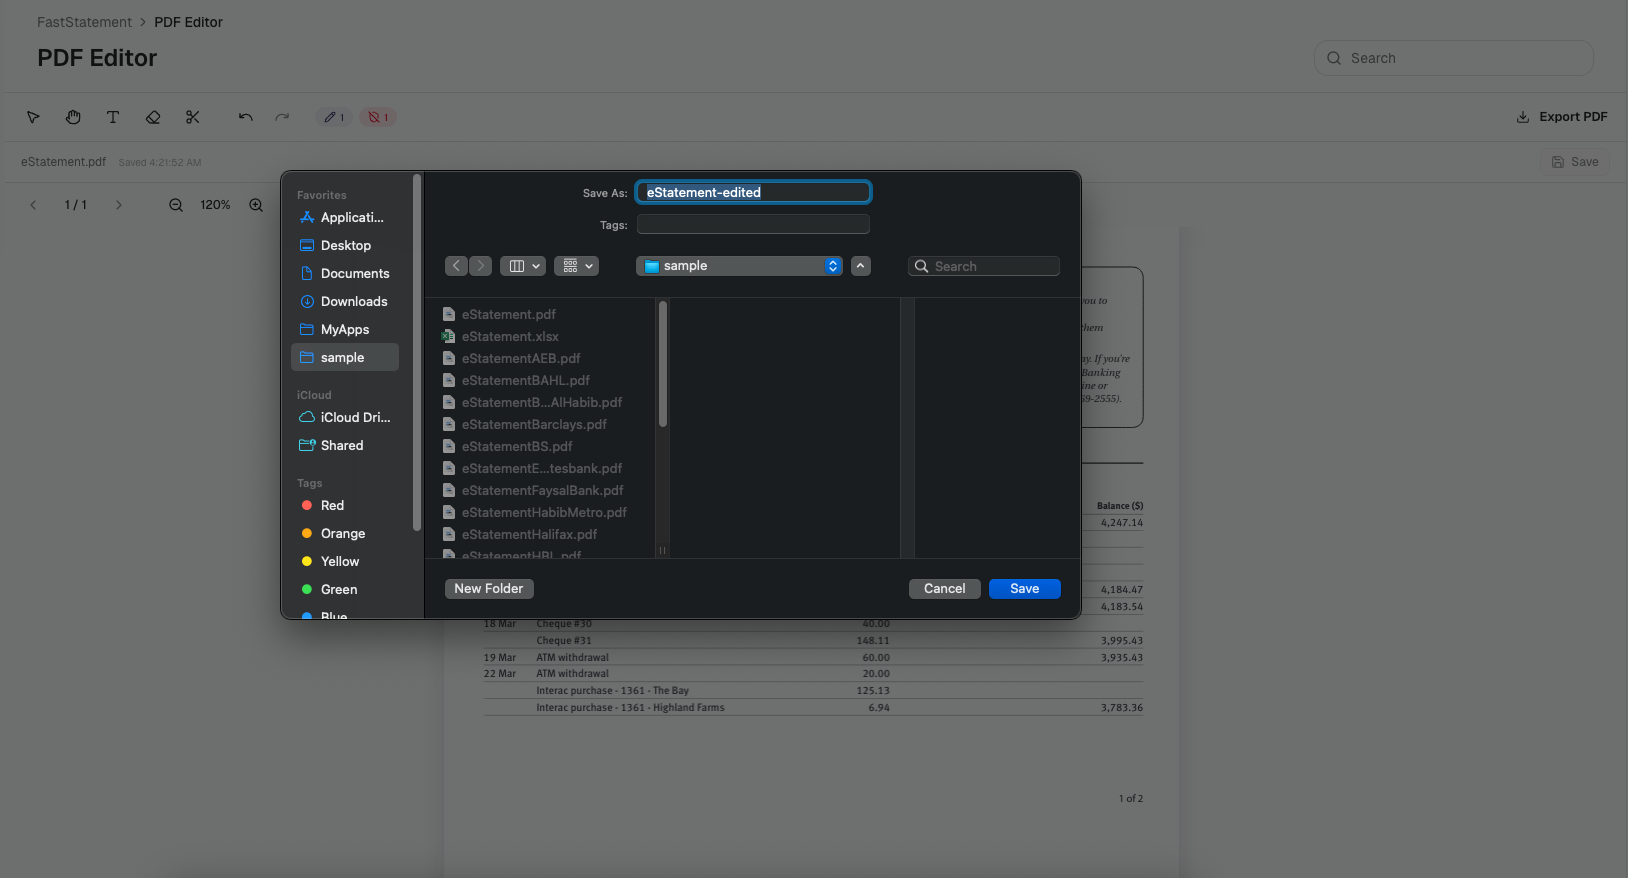
PDF editing (overview)
PDF edit mode is for touch-ups and redaction after conversion, not for rebuilding the bank’s layout from scratch. Full sequence: PDF editor guide.
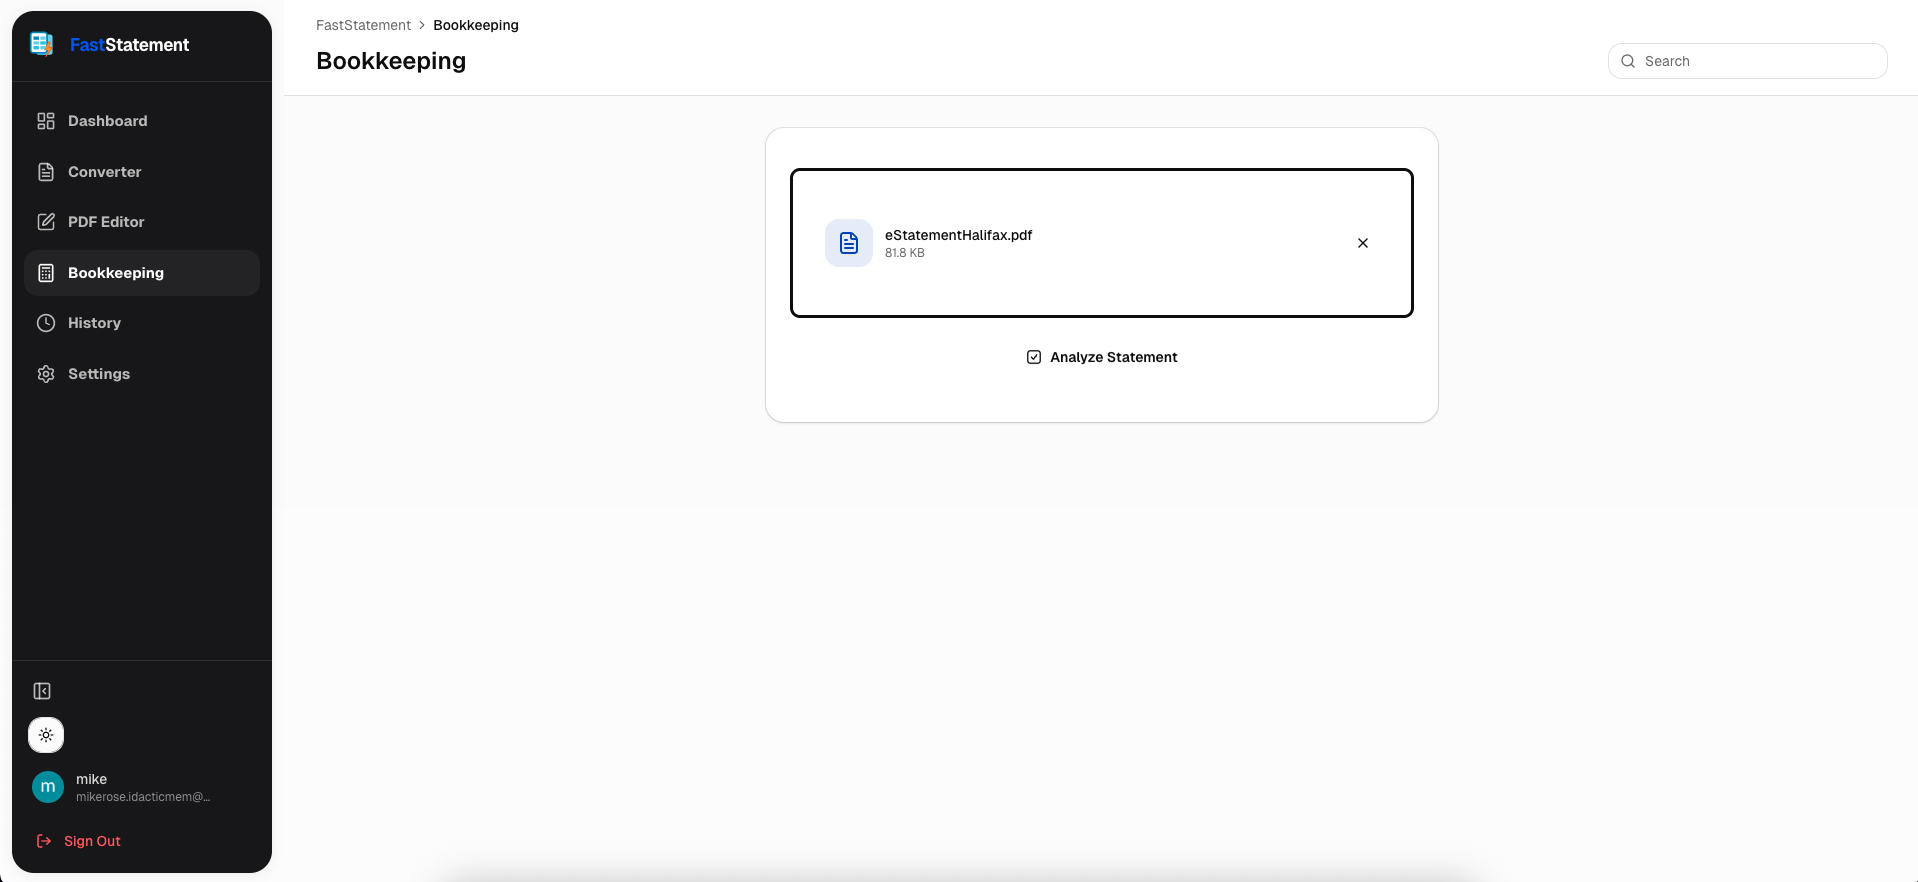
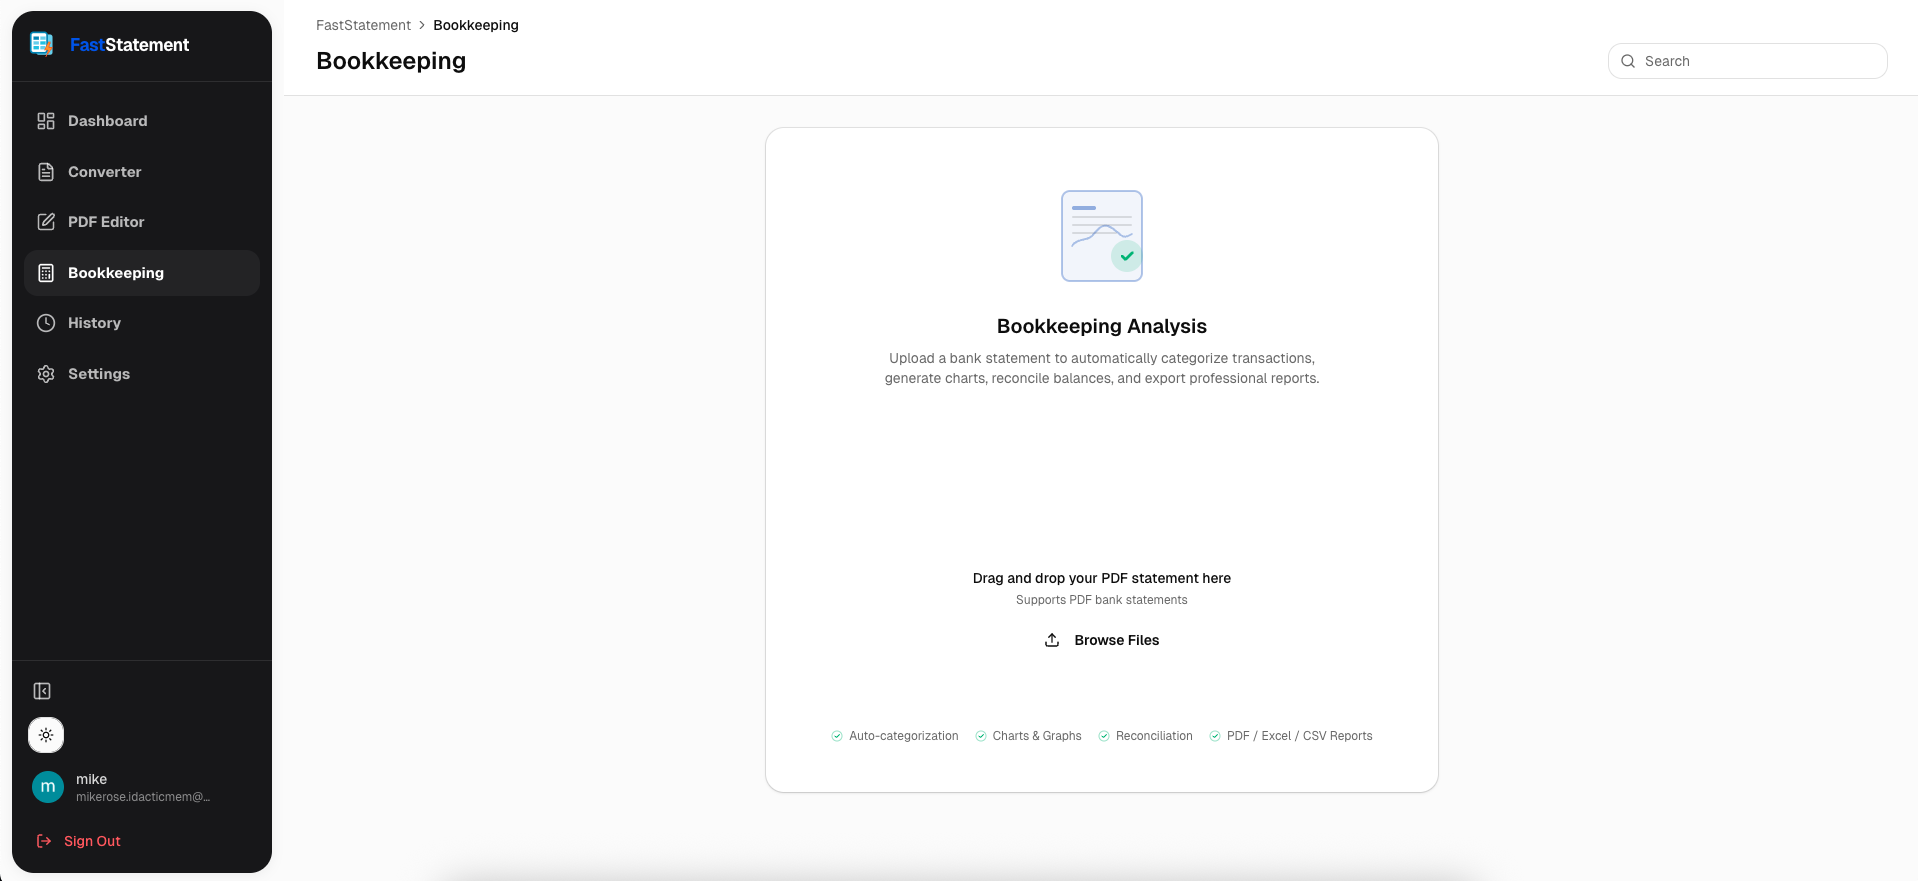
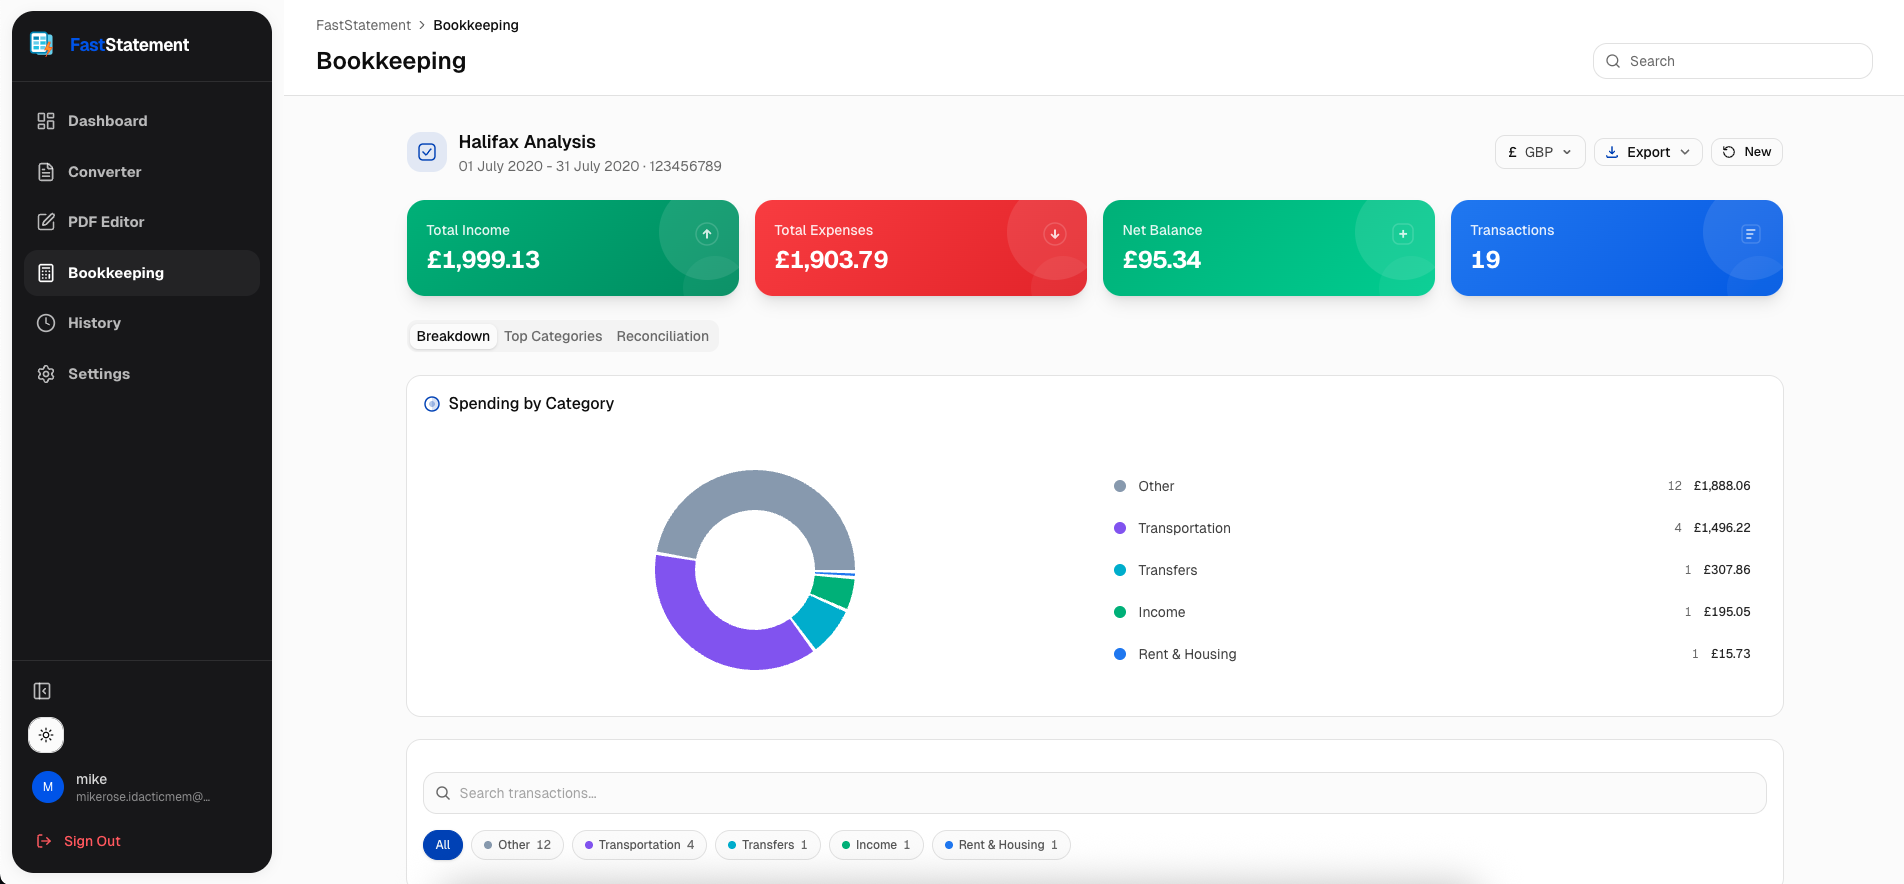
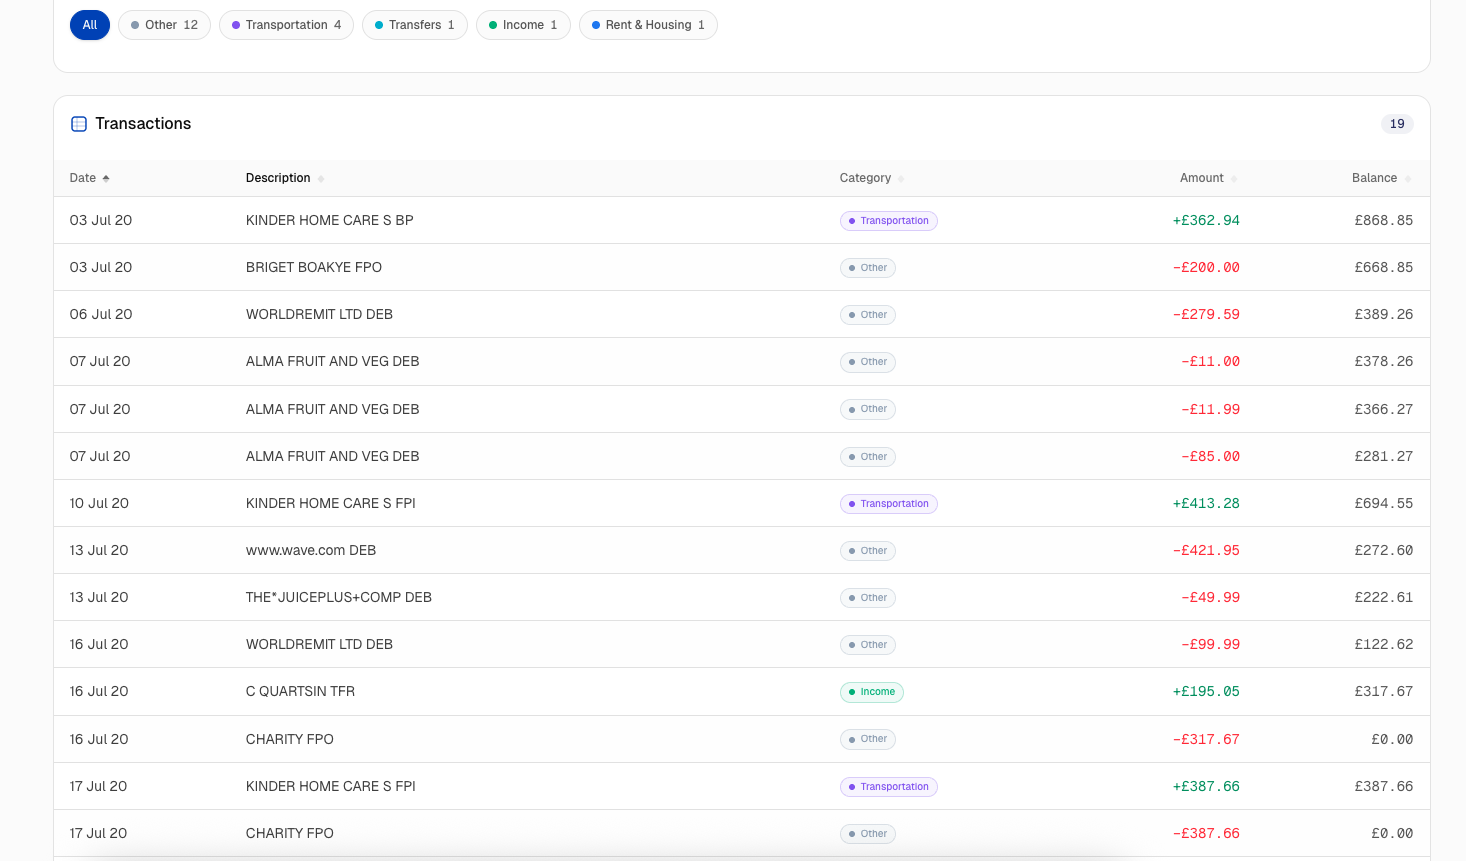
Bookkeeping workspace (overview)
Bookkeeping view adds reconciliation-style context: balances, tags, currency checks, and report exports. Walkthrough: bookkeeping guide.
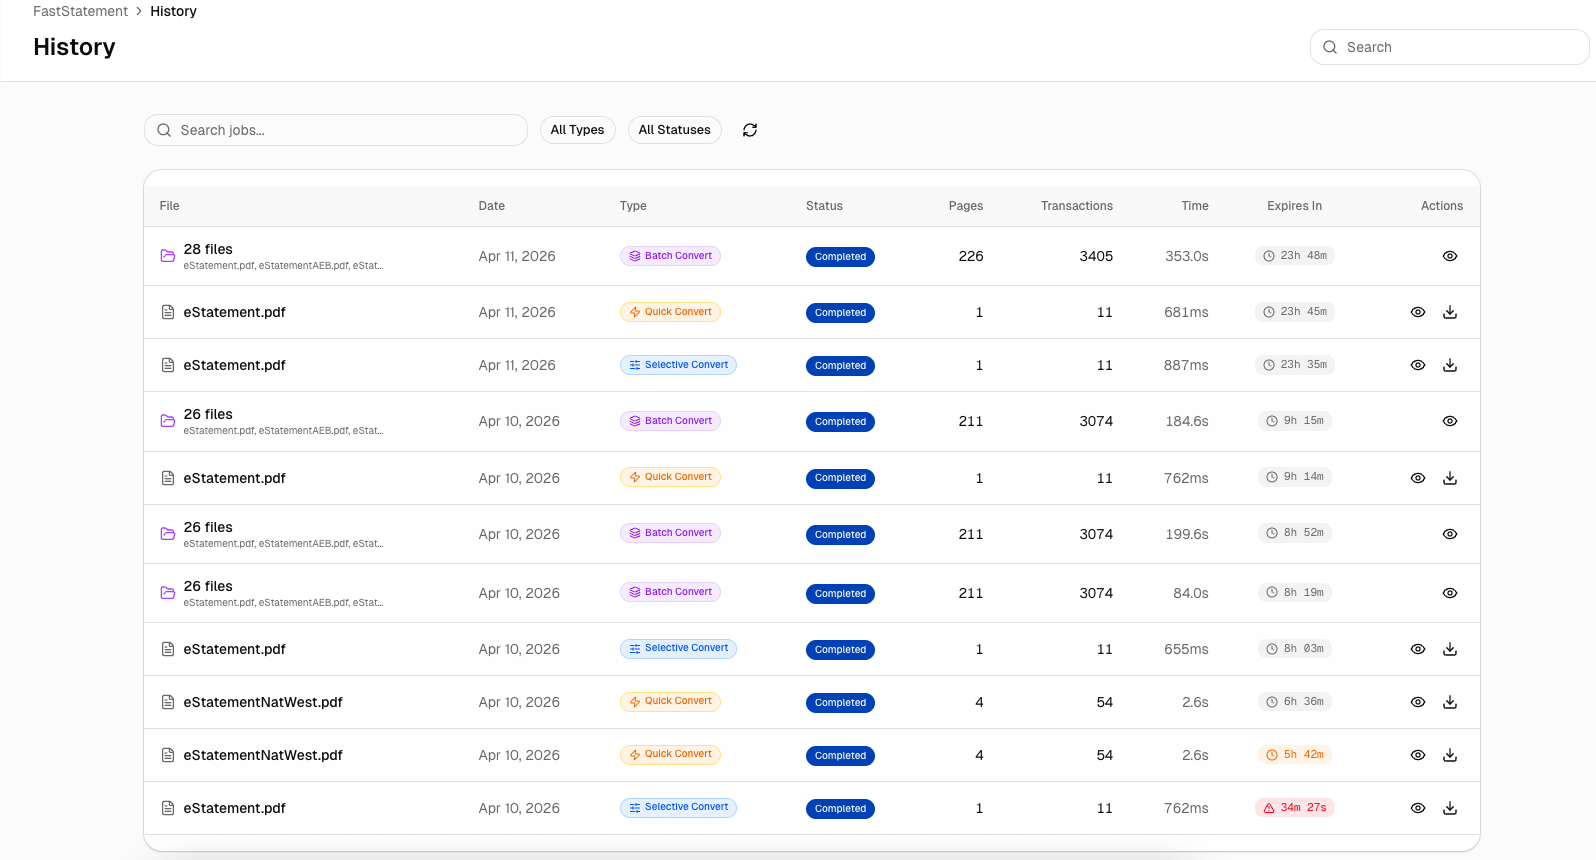
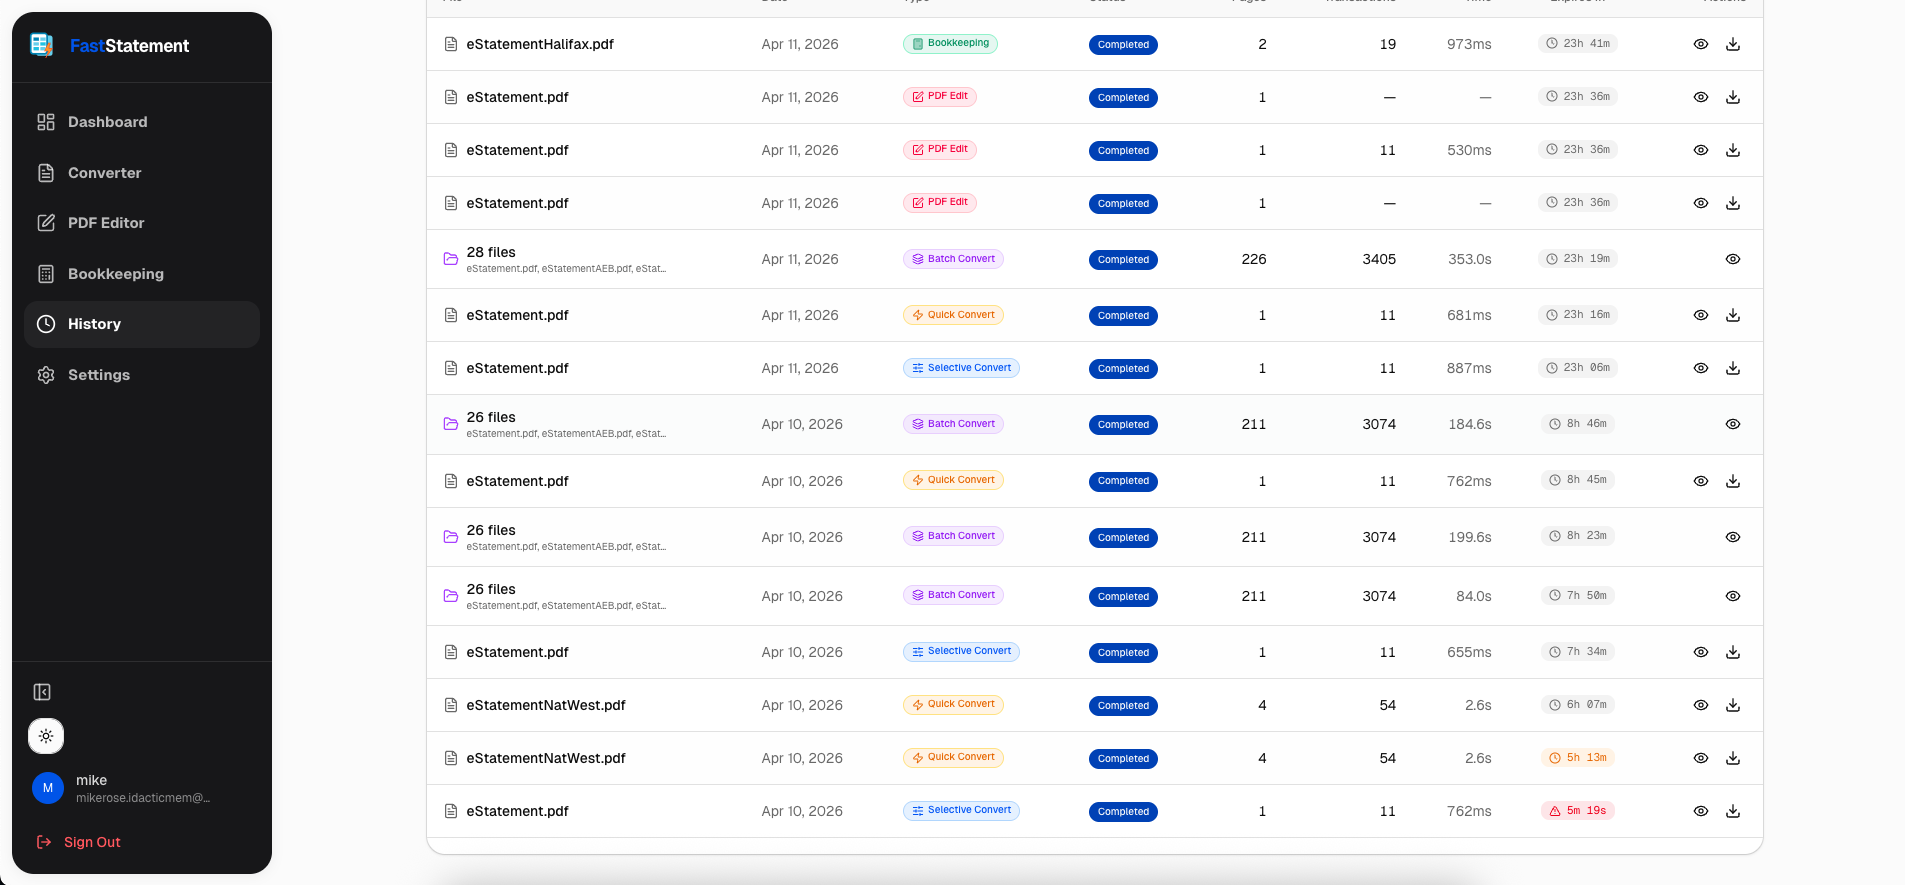
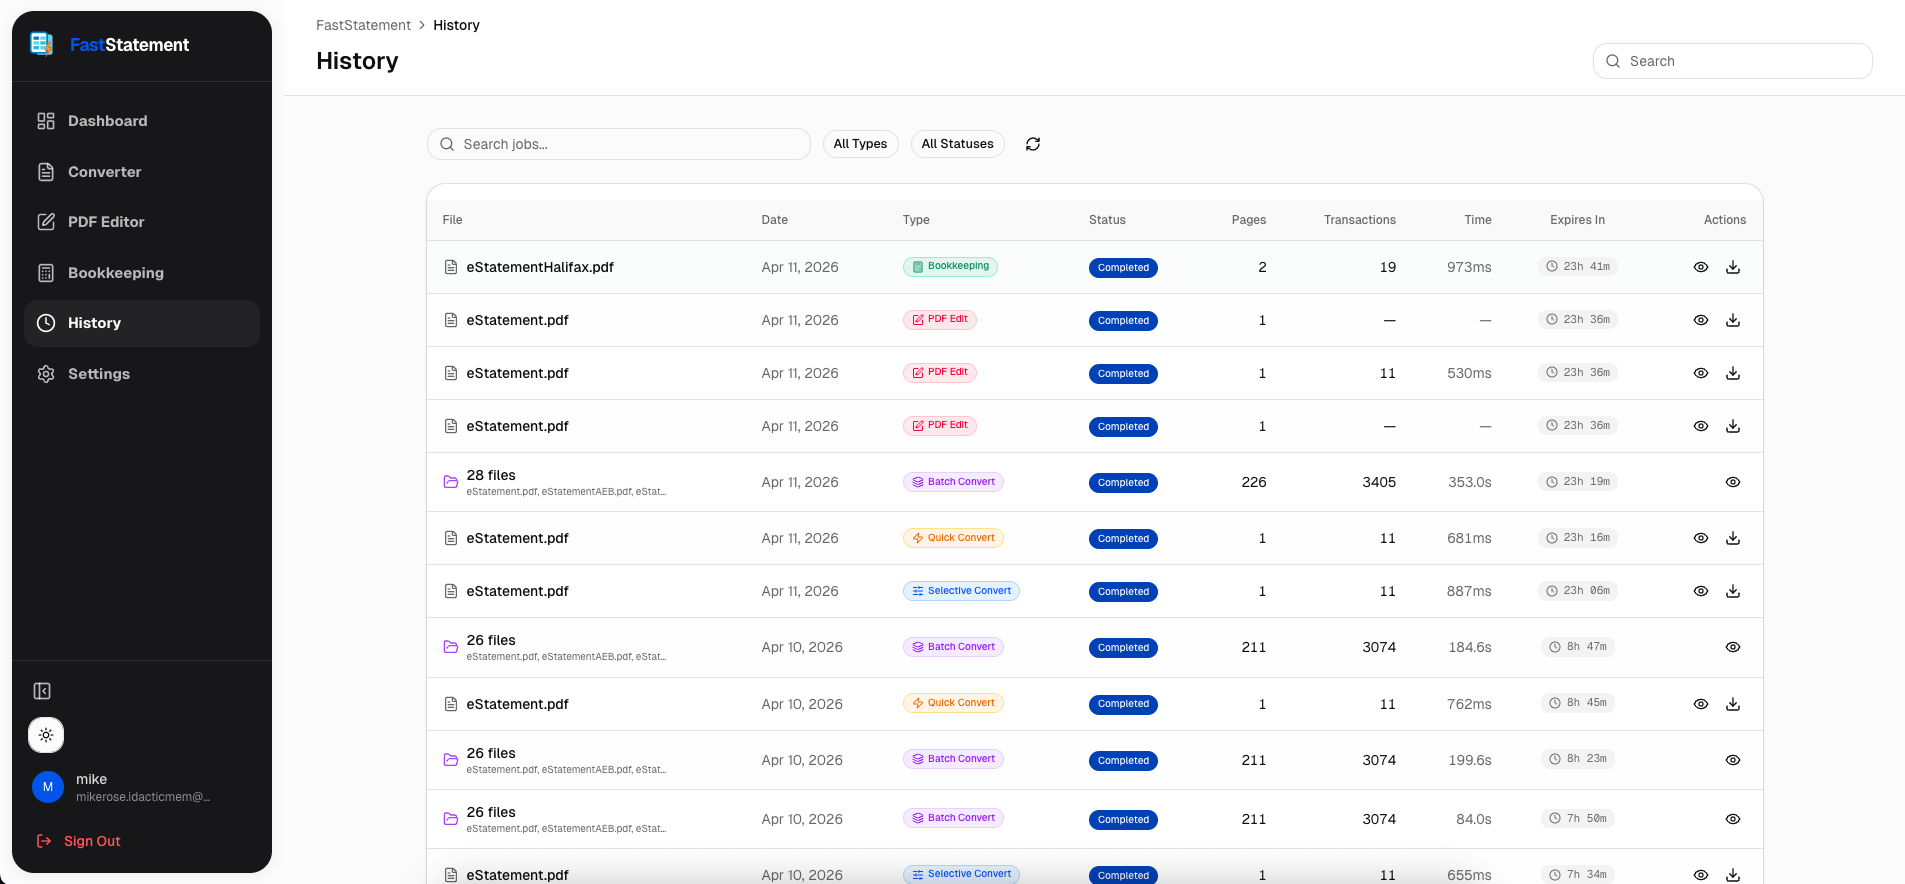
History and retention (overview)
History ties jobs to timing and status so you can answer “did this finish?” without guessing. Details: history guide.
What to do next
Pick one real statement from last month and run it end to end. If the table looks right, export CSV and open it in Excel or Sheets. If the layout is ugly, try selective OCR on just the grid. If you have a folder of PDFs, queue a batch and use history while you grab coffee.
Open the converter, editor, bookkeeping, or history when you are ready to run your own files.